Application Management
OpenCelium presents a unified interface across every module, so once you learn the navigation, the patterns repeat everywhere.
Navigation
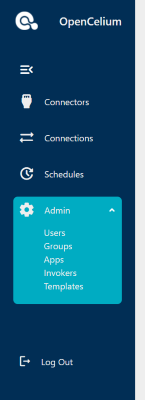
The left-hand menu shows icon-only shortcuts by default. Hover over the
rail (or click the burger icon ![]() ) to expand it and reveal
labels. Administrative items expose sub-menus that can be expanded or
collapsed individually.
) to expand it and reveal
labels. Administrative items expose sub-menus that can be expanded or
collapsed individually.
Top Bar & Global Search
Every page shares the same top bar:
Global search – typing part of a connector, connection, or schedule title sends a query to
/search/{title}and displays grouped results. Selecting one navigates directly to that module and pre-fills the search filter.Notification bell – opens the notification drawer regardless of where you are in the app.
Profile avatar – opens the profile page so you can adjust personal settings (see Profile & Theme Sync).
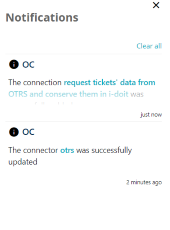
Notification Panel
Actions such as create, update, and delete always produce a toast. Each toast is also added to the notification panel, which records the type (info, warning, error), timestamp, and message. Use the chevron icon to expand long messages, click entity links to jump to the affected record, or clear individual/all entries with the trash buttons.
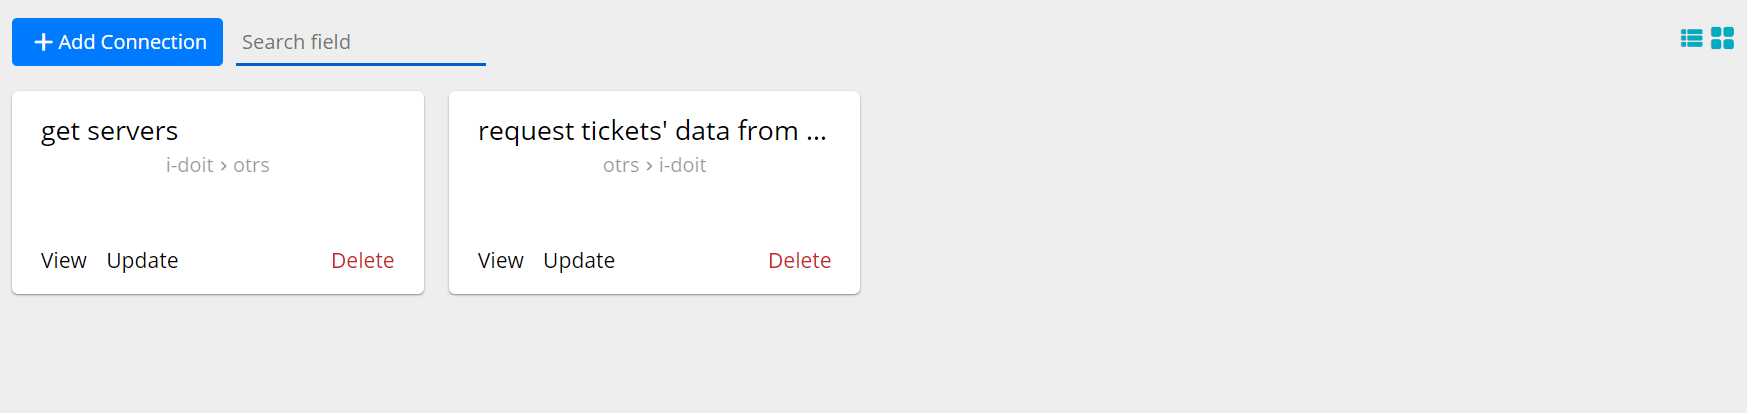
List & Grid Views
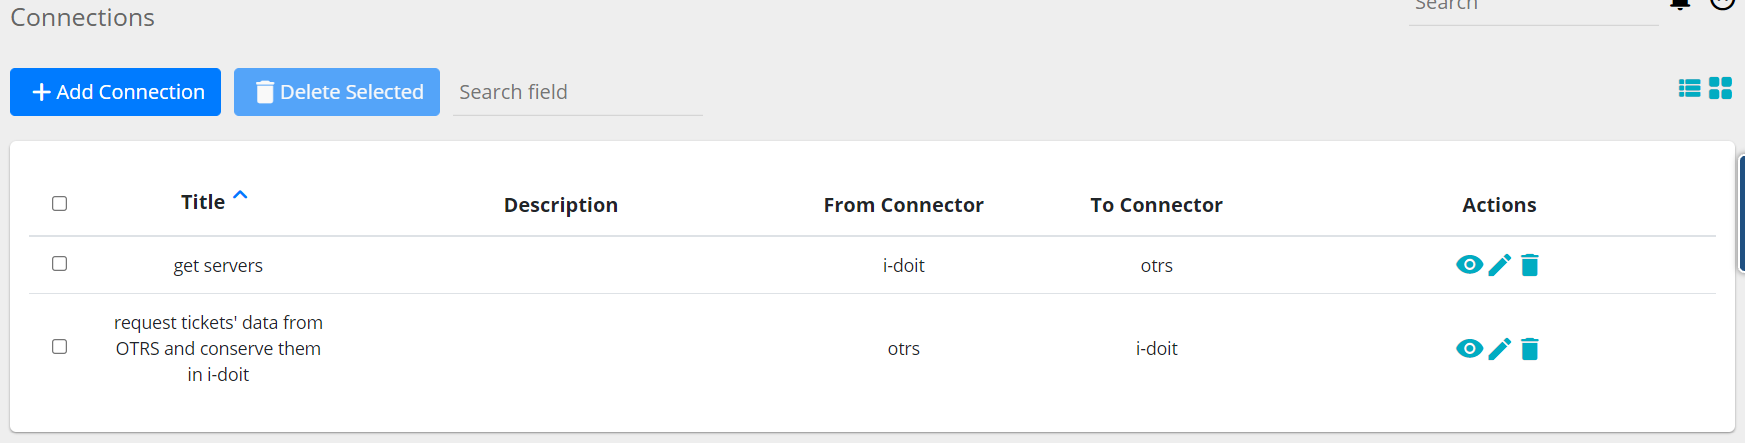
Data-heavy modules offer both table and card layouts. In table view you can:
Sort by clicking the title column
 .
.Inline-edit names and descriptions (Connections, Connectors, Schedules) by double-clicking the value
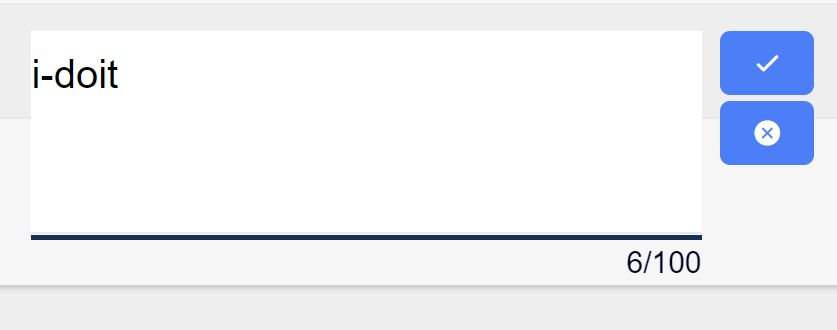 .
.Select multiple rows for bulk actions.
Switch to the grid view ![]() to see cards with icons. You can
upload a new icon directly from the grid
to see cards with icons. You can
upload a new icon directly from the grid ![]() . Both
layout modes honor pagination
. Both
layout modes honor pagination 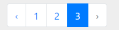 and the universal search box.
Add/Update Forms
Entry creation flows all follow the same pattern: click Add <Element>, complete each form section, and submit. Validation only runs when the section is submitted, so required fields stay highlighted until they are filled.
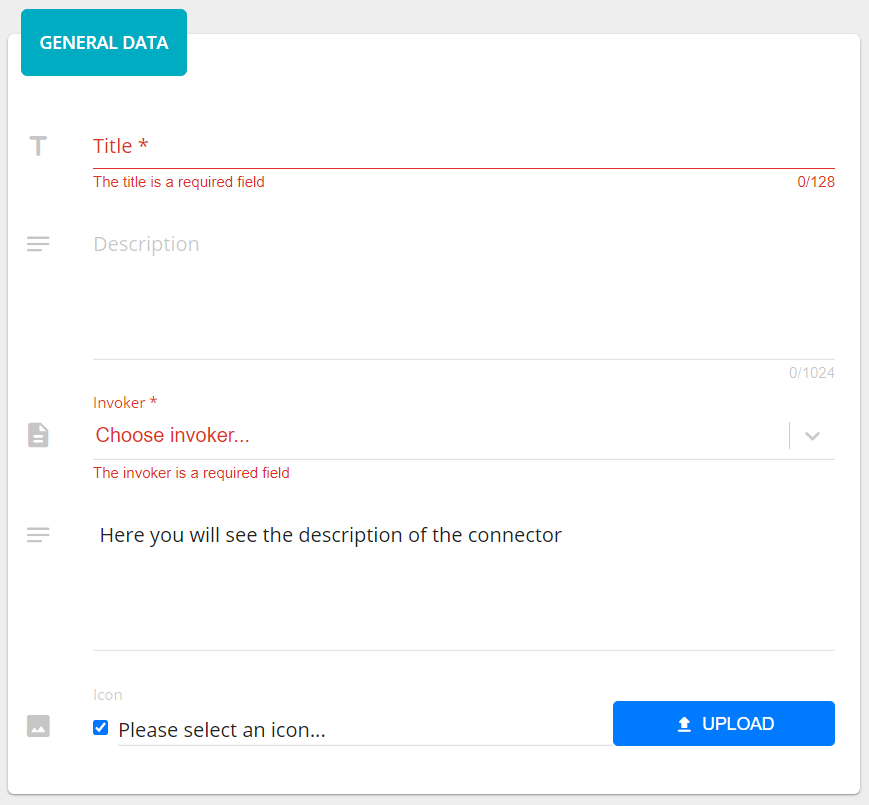
Some sections are conditional—for example, a subsection might only appear after you choose a connector. This ensures dependencies are met before additional options are shown.
Profile & Theme Sync
The profile page stores personal details and two platform-wide toggles:
Theme – select a theme to apply it immediately; the choice is saved with your account.
Online Service Sync – when enabled, OpenCelium loads a Service Portal iframe to synchronize avatars (Gravatar), custom themes, and online license activation (see License Management).
Both settings update the backend via the user-detail API, so your account must have permission to edit itself.
Dashboard Overview
The Dashboard follows the same layout conventions described here
but adds draggable widgets. Use the pencil icon to enter edit mode,
drag/drop or remove widgets, and save. Widget preferences are stored per
user through the /widget and /widget_setting endpoints, so your
layout persists across browsers.