Admin Panel
The admin panel can be accessed via the gear symbol or the “Admin” menu item in the left-hand navigation. If the menu is expanded, you also have direct access to the most important tools. Clicking on the three dots at the bottom of the list opens the admin panel with all the tools.

Admin Panel includes necessary tools for working with OpenCelium. There are:
Users
Groups
LDAP check
Support Files
Licence Management
Invokers
Templates
Data Aggregator
Notification Templates
Update Assistant
External Applications
Migration
Categories
Users
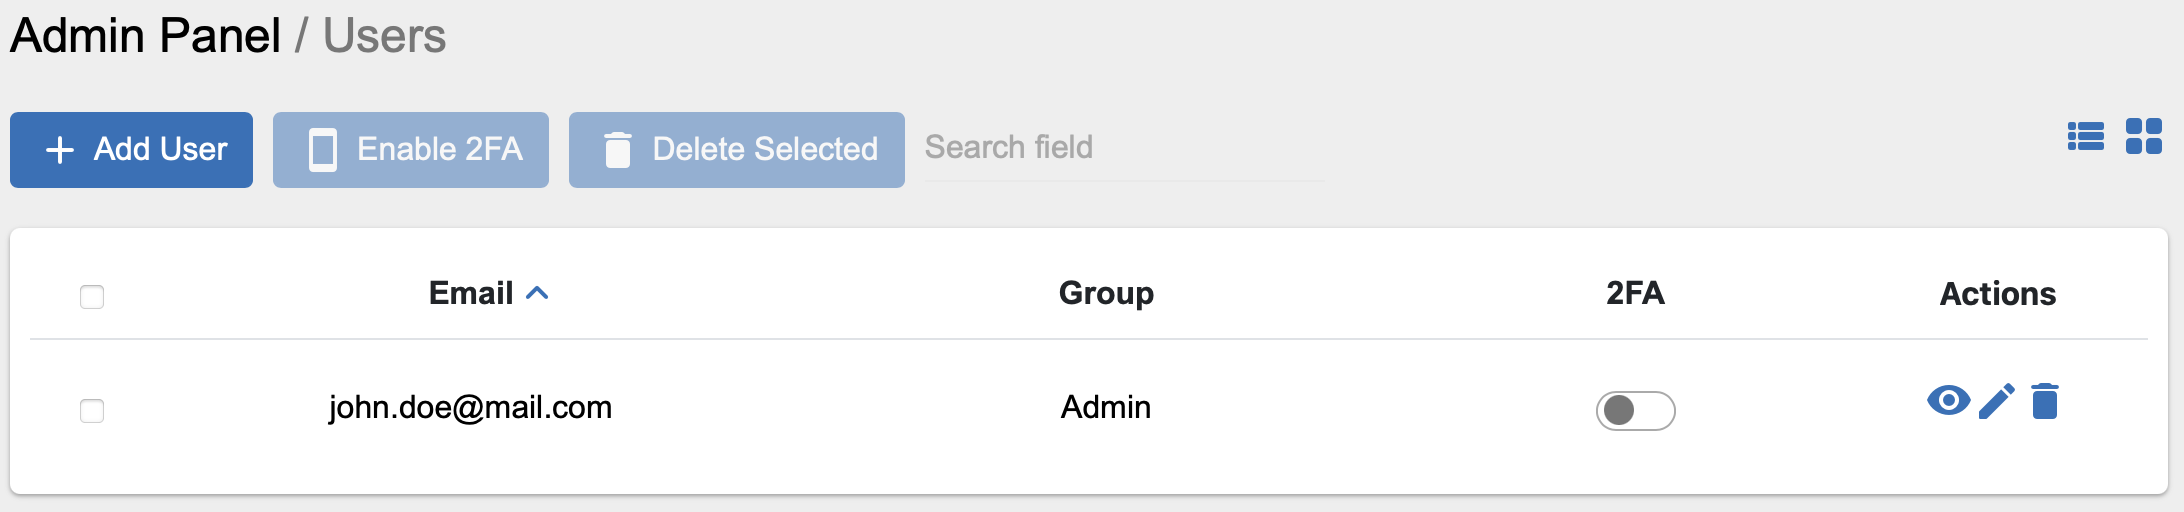
The “Users” panel contains all users who have access to OpenCelium and shows all the necessary details and authorizations. The list shows the user’s e-mail address and group. Two-factor authentication can also be activated for each user. The functions for viewing, editing and deleting a user are available on the right-hand side of each list entry. Please note that the currently logged in user cannot be deleted.
Clicking on a list entry opens the detailed view of the respective user in edit mode, which consists of three categories:
User Details
Credentials
User Group
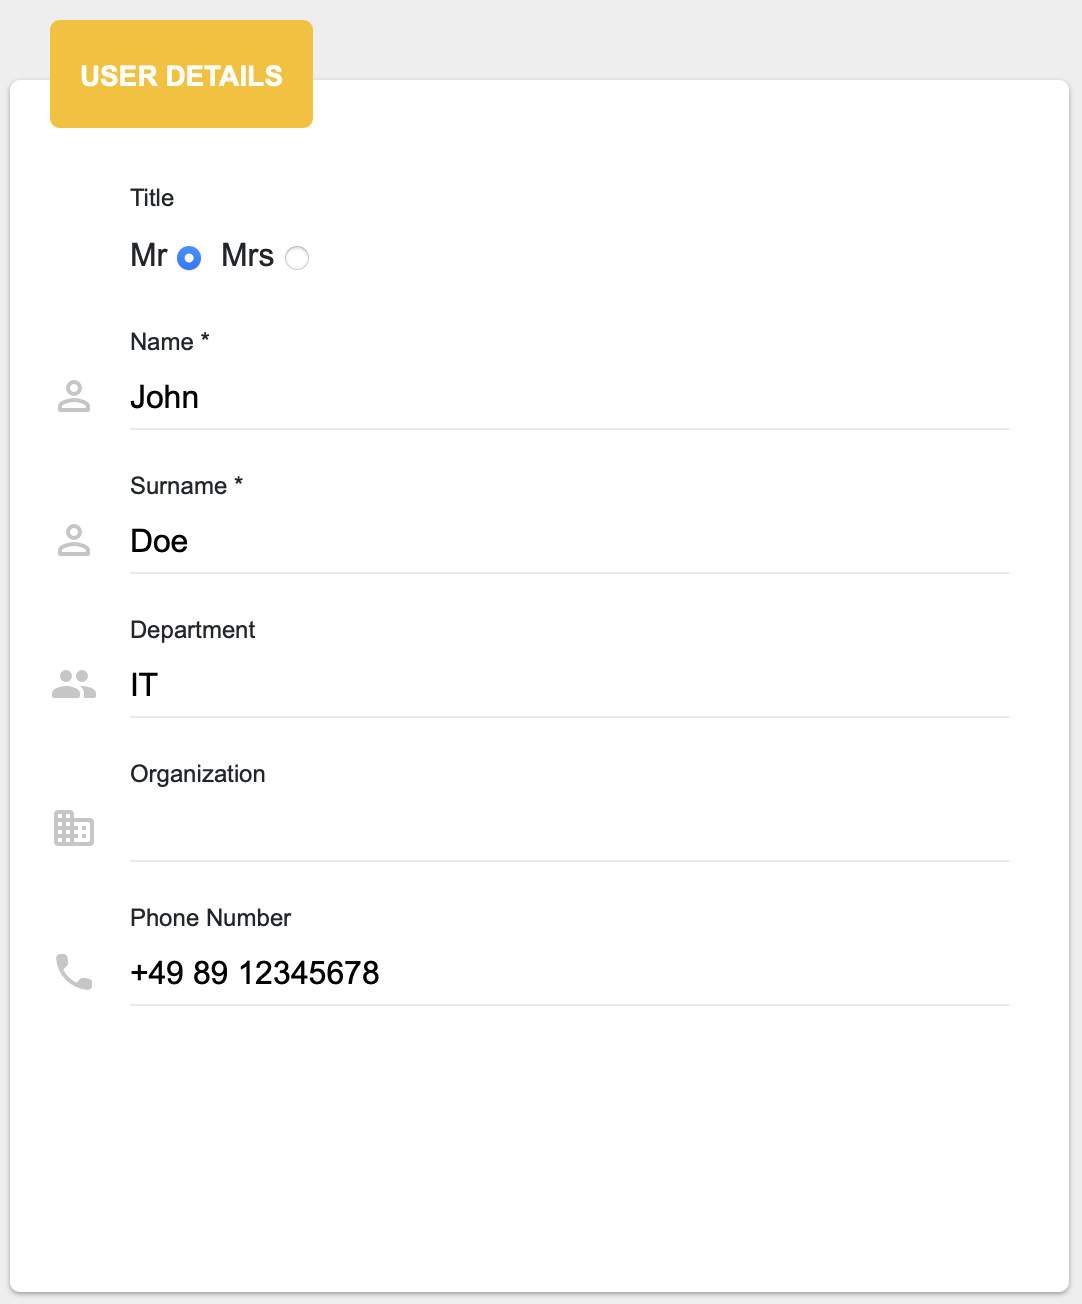
The user details contain all important information about a user, such as title, name, surname, department, organization and phone number. The user image is only shown if the user has uploaded an image. Otherwise a place holder is shown instead.
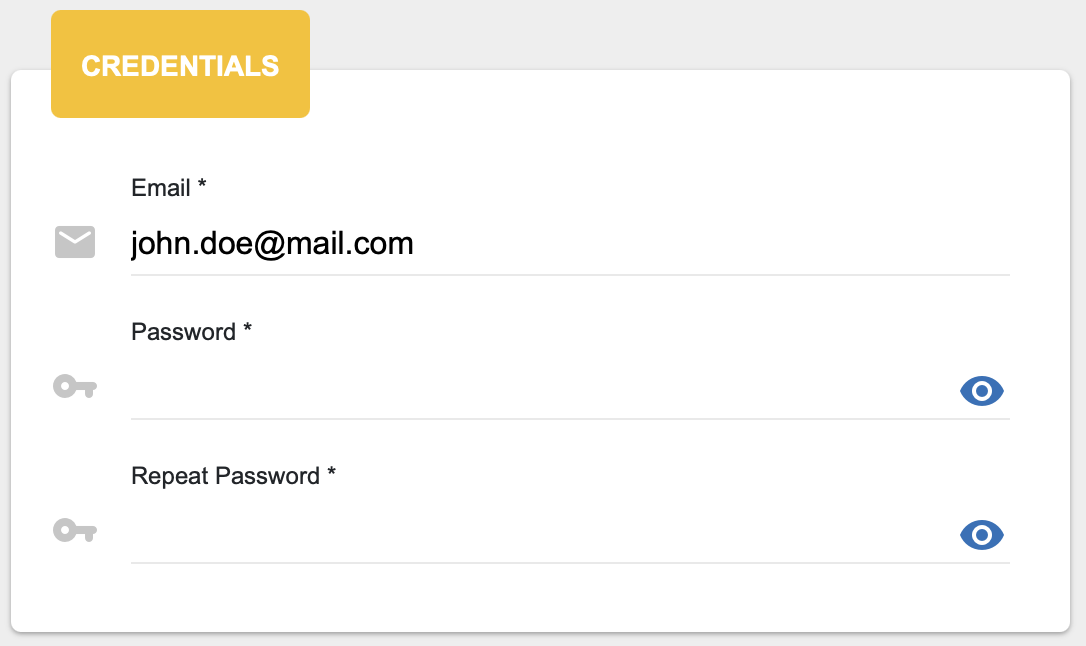
The credentials consist of the user’s e-mail address and the password fields for setting a password. All three fields are mandatory. If a password is set, it must be between 8 and 64 characters long. The e-mail address must be valid and a maximum of 255 characters long.
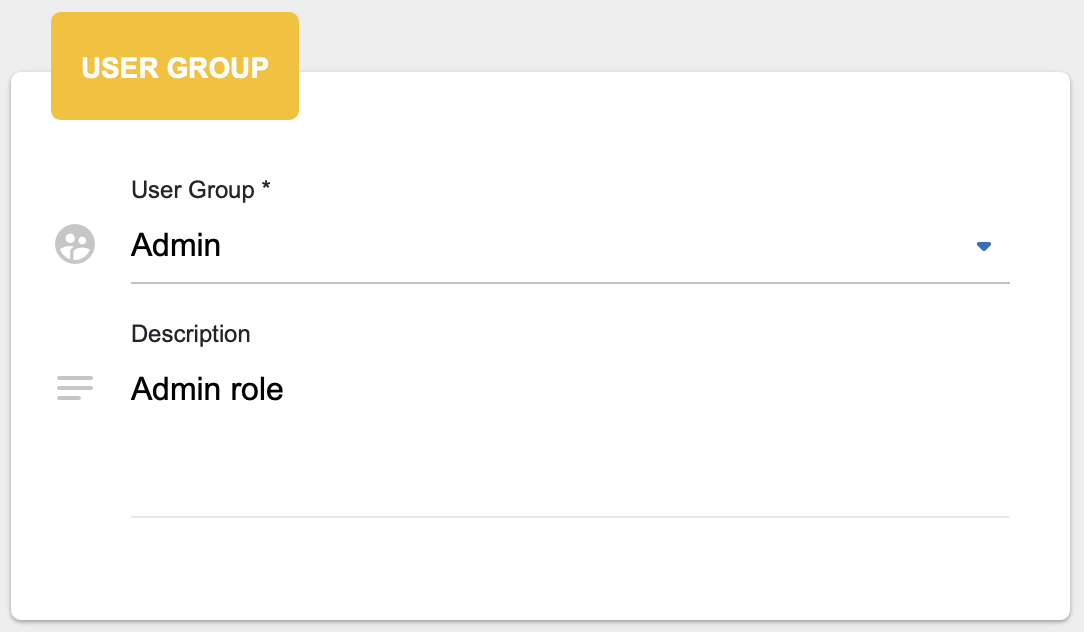
The User Group is showing the group the user belongs to. Meaning of the user group you can find in the chapter Groups.
To add a new user, click on the “Add user” button in the user panel.

An empty input mask opens in which all details must be entered. All fields marked with an asterisk (*) are mandatory. The e-mail address must be valid and must not be longer than 255 characters. The password must be between 8 and 64 characters long.
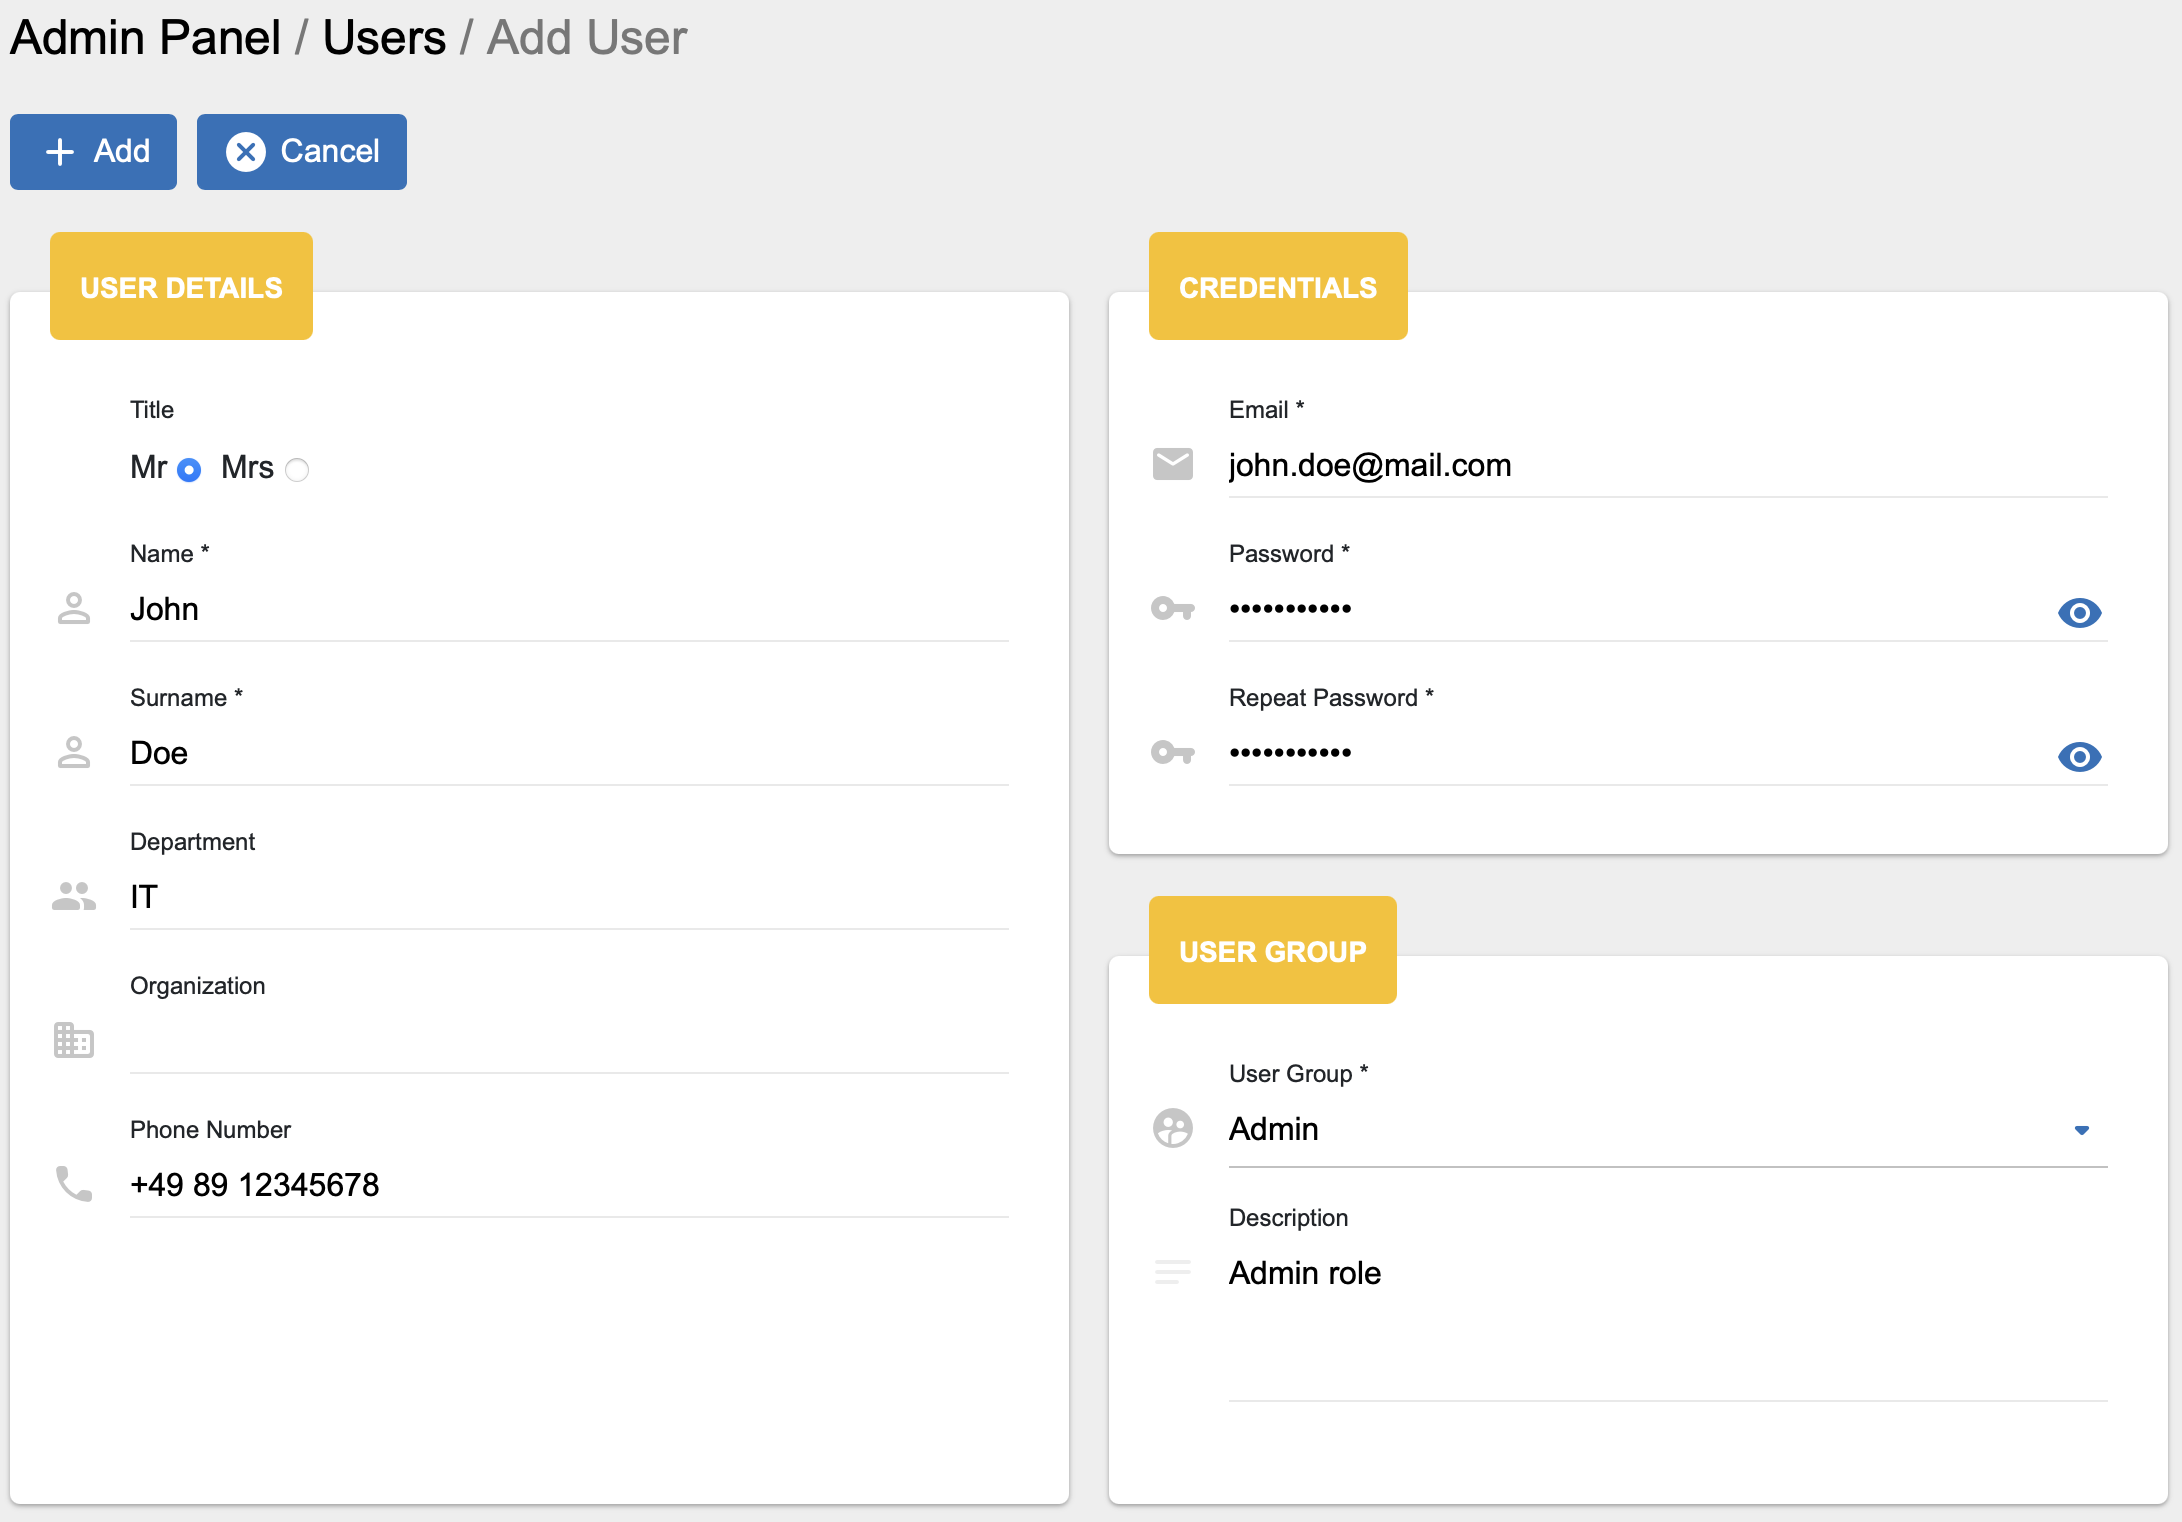
Once all details are complete, the user can be added by clicking the “Add” button.

Groups
The “Group” panel contains all groups created in OpenCelium. A group or user group is a group of users with certain authorizations. The list view shows the name of a group, a description and the assigned components for which the respective group is authorized.Group or User Group is a set of users with defined permissions. The functions for viewing and deleting a group are available on the right-hand side of each list entry.
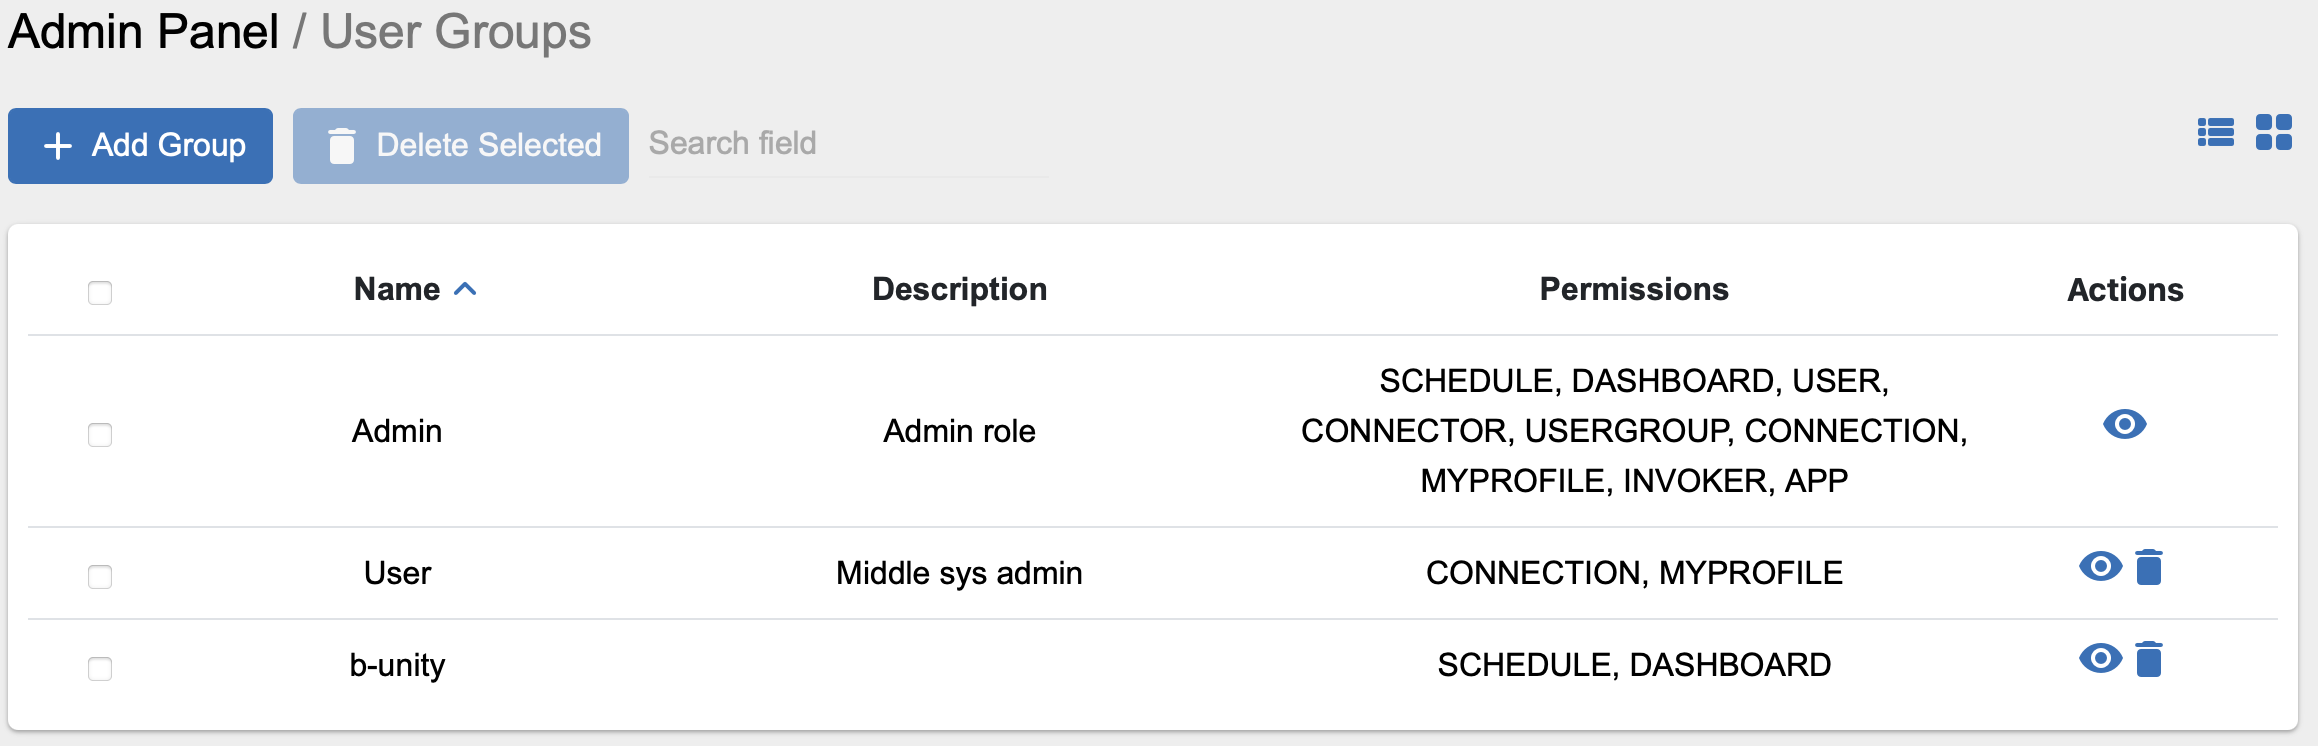
Clicking on a list entry opens the detailed view of the respective group in view mode, which consists of three categories:
Group Details
Components
Permissions
The group details contain name of the group and a brief description.

The category with the components shows the different components which have been assigned to this group.

The category with the permissions shows the different permissions per component a user within this group has. A distinction is made between Create, Read, Write and Delete. A plus sign (+) means that the rights for the respective component are available, whereas a minus sign (-) indicates that the rights for the component have not been assigned.

To add a new group, click on the “Add Group” button in the group panel.

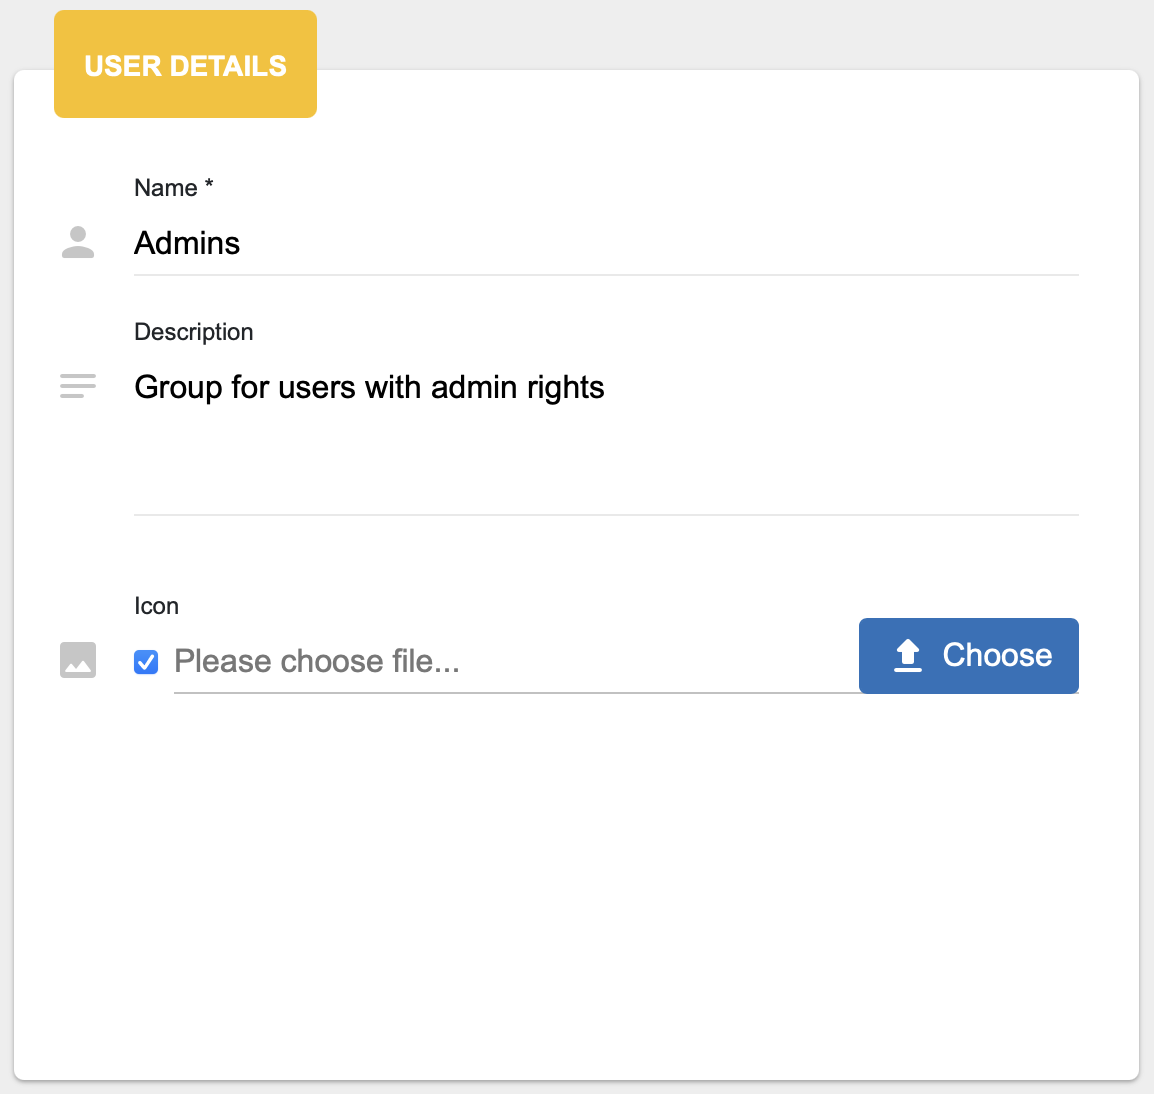
An empty input mask opens in which all details must be entered. All fields marked with an asterisk (*) are mandatory. Creating a new groups consists of three parts: group details, components and permissions.
Please enter a name and a description for the new group. Additionally, you can upload an icon for the new group too. The name is a mandatory field.
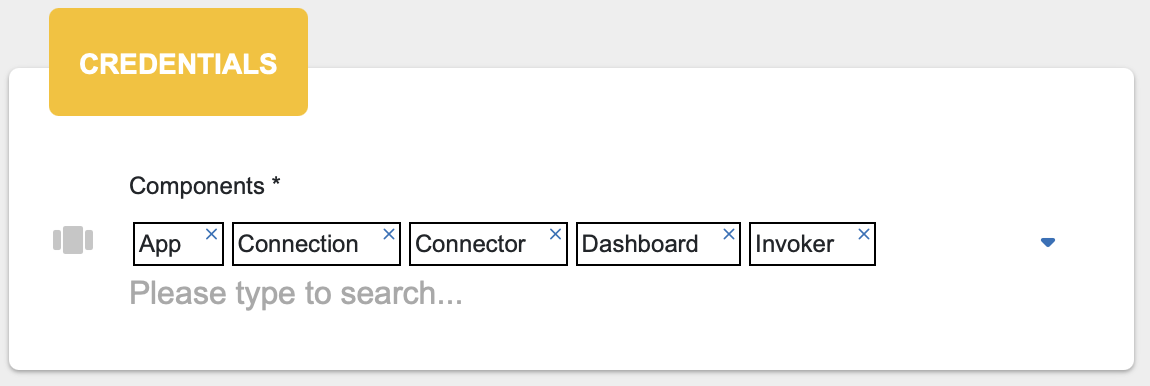
Next, you have to select the components which you want to assign to this new group. Open the drop down list and select the desired components. In total there are the following components available:
App
Connection
Connector
Dashboard
Invoker
Myprofile
Schedule
User
Usergroup
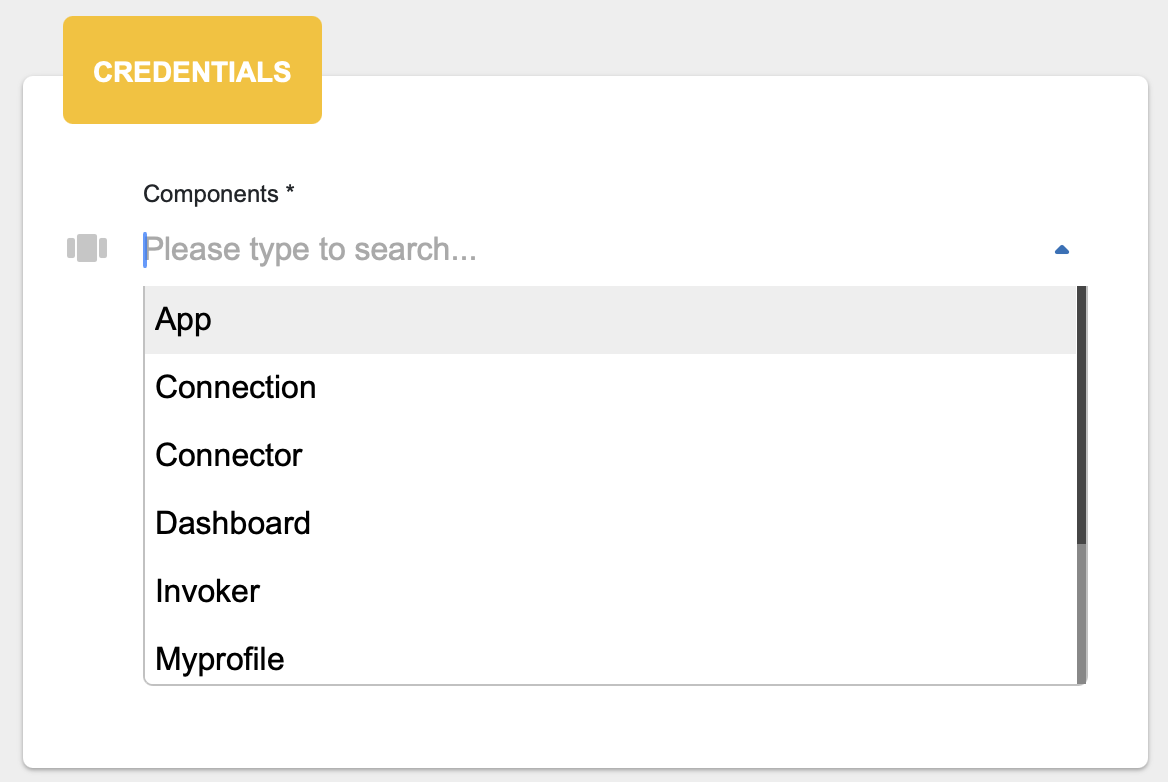
Every selected component will be listed in a row. Clicking on the “X” removes the component again.
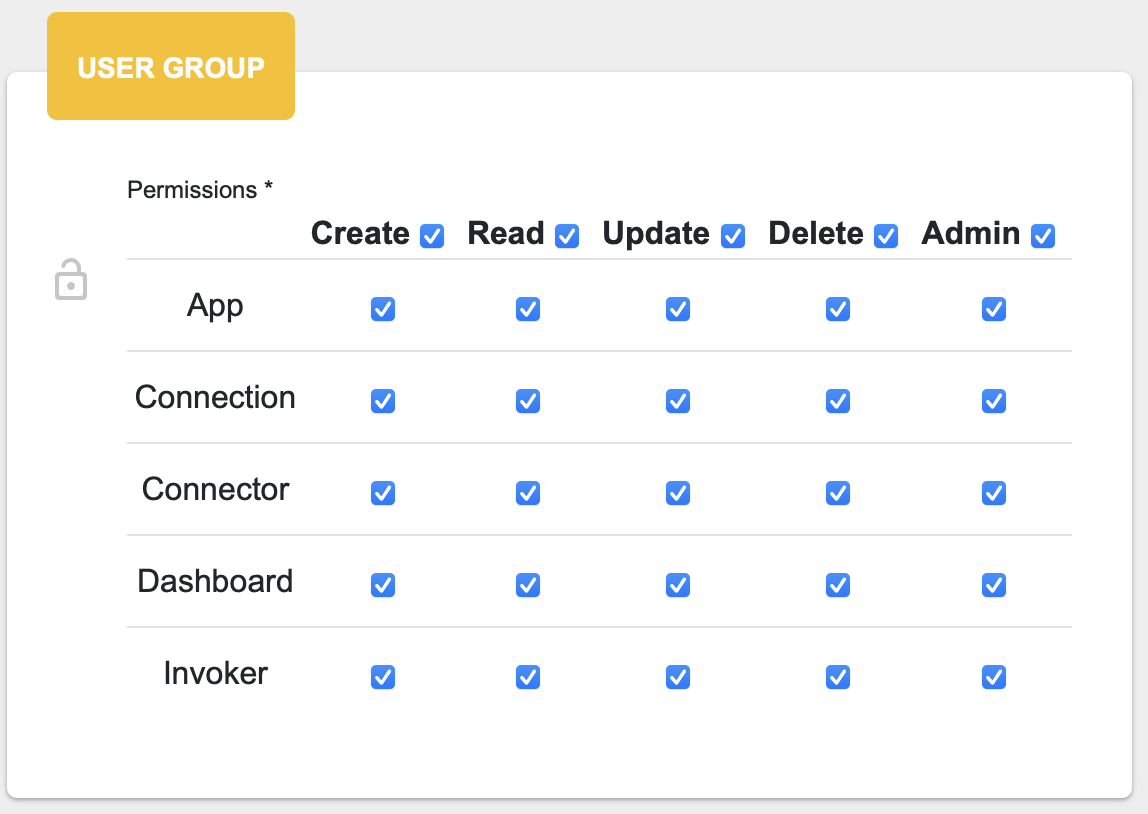
The section with the permissions shows a table of the permissions related to the previously selected components. You have to set the permission for at least one component to get the new group created. Please tick the checkboxes in order to define what a user is allowed to do with the respective component (create, read, update, or delete). The column admin just checks all permissions for the corresponding row.
Once all details are complete, the group can be added by clicking the “Add” button.

Support Files
Every connection execution can archive its request/response payloads as a support file. The Admin → Support Files card exposes these bundles so operators can download them or clean up disk space.
The grid lists the connection title, the stored file path, the detected timestamp, and a status cell. A green cell indicates that a success archive (
*_s_*.zip) exists; a red cell highlights that only a failure archive (*_f_*.zip) was created for that run.Click the download icon to fetch the ZIP. Each archive contains the serialized request/response bodies that were captured during execution, so it can be shared with support without re-running the workflow.
Use the trash icon on a row to delete a single archive. Selecting multiple entries in list view enables the Delete Selected action so bulk cleanups can be performed before rotating disks or backing up.
All files follow the same directory layout
(/upload-dir/support-files/<connection>/<timestamp>_<status>_<execution>.zip),
so the screen is also a quick way to correlate a support ticket with the
matching execution ID before handing the archive over to engineering.
External Applications
The applications menu displays a list of software that OpenCelium connected with. If they are installed and configured on your machine, you can open them clicking on the card and see relations to OC. If not, you will see the notification message, that this system is down. Also, the corresponded item shows its status: enabled or disabled.
For this moment, there are two items: MongoDB and MariaDB. “MongoDB” collects all required information about connections. MariaDB stores the rest data of OpenCelium, like users, groups, schedules etc.
Invokers
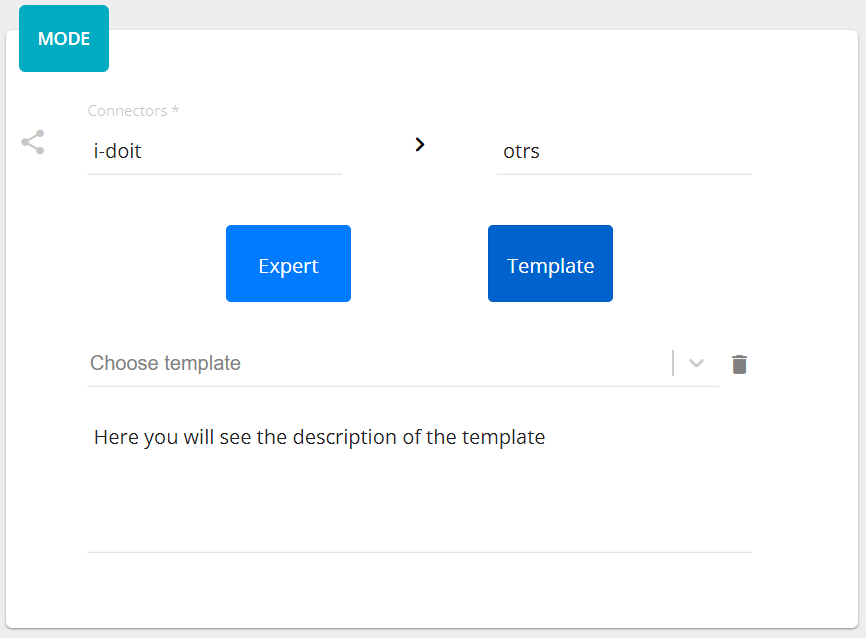
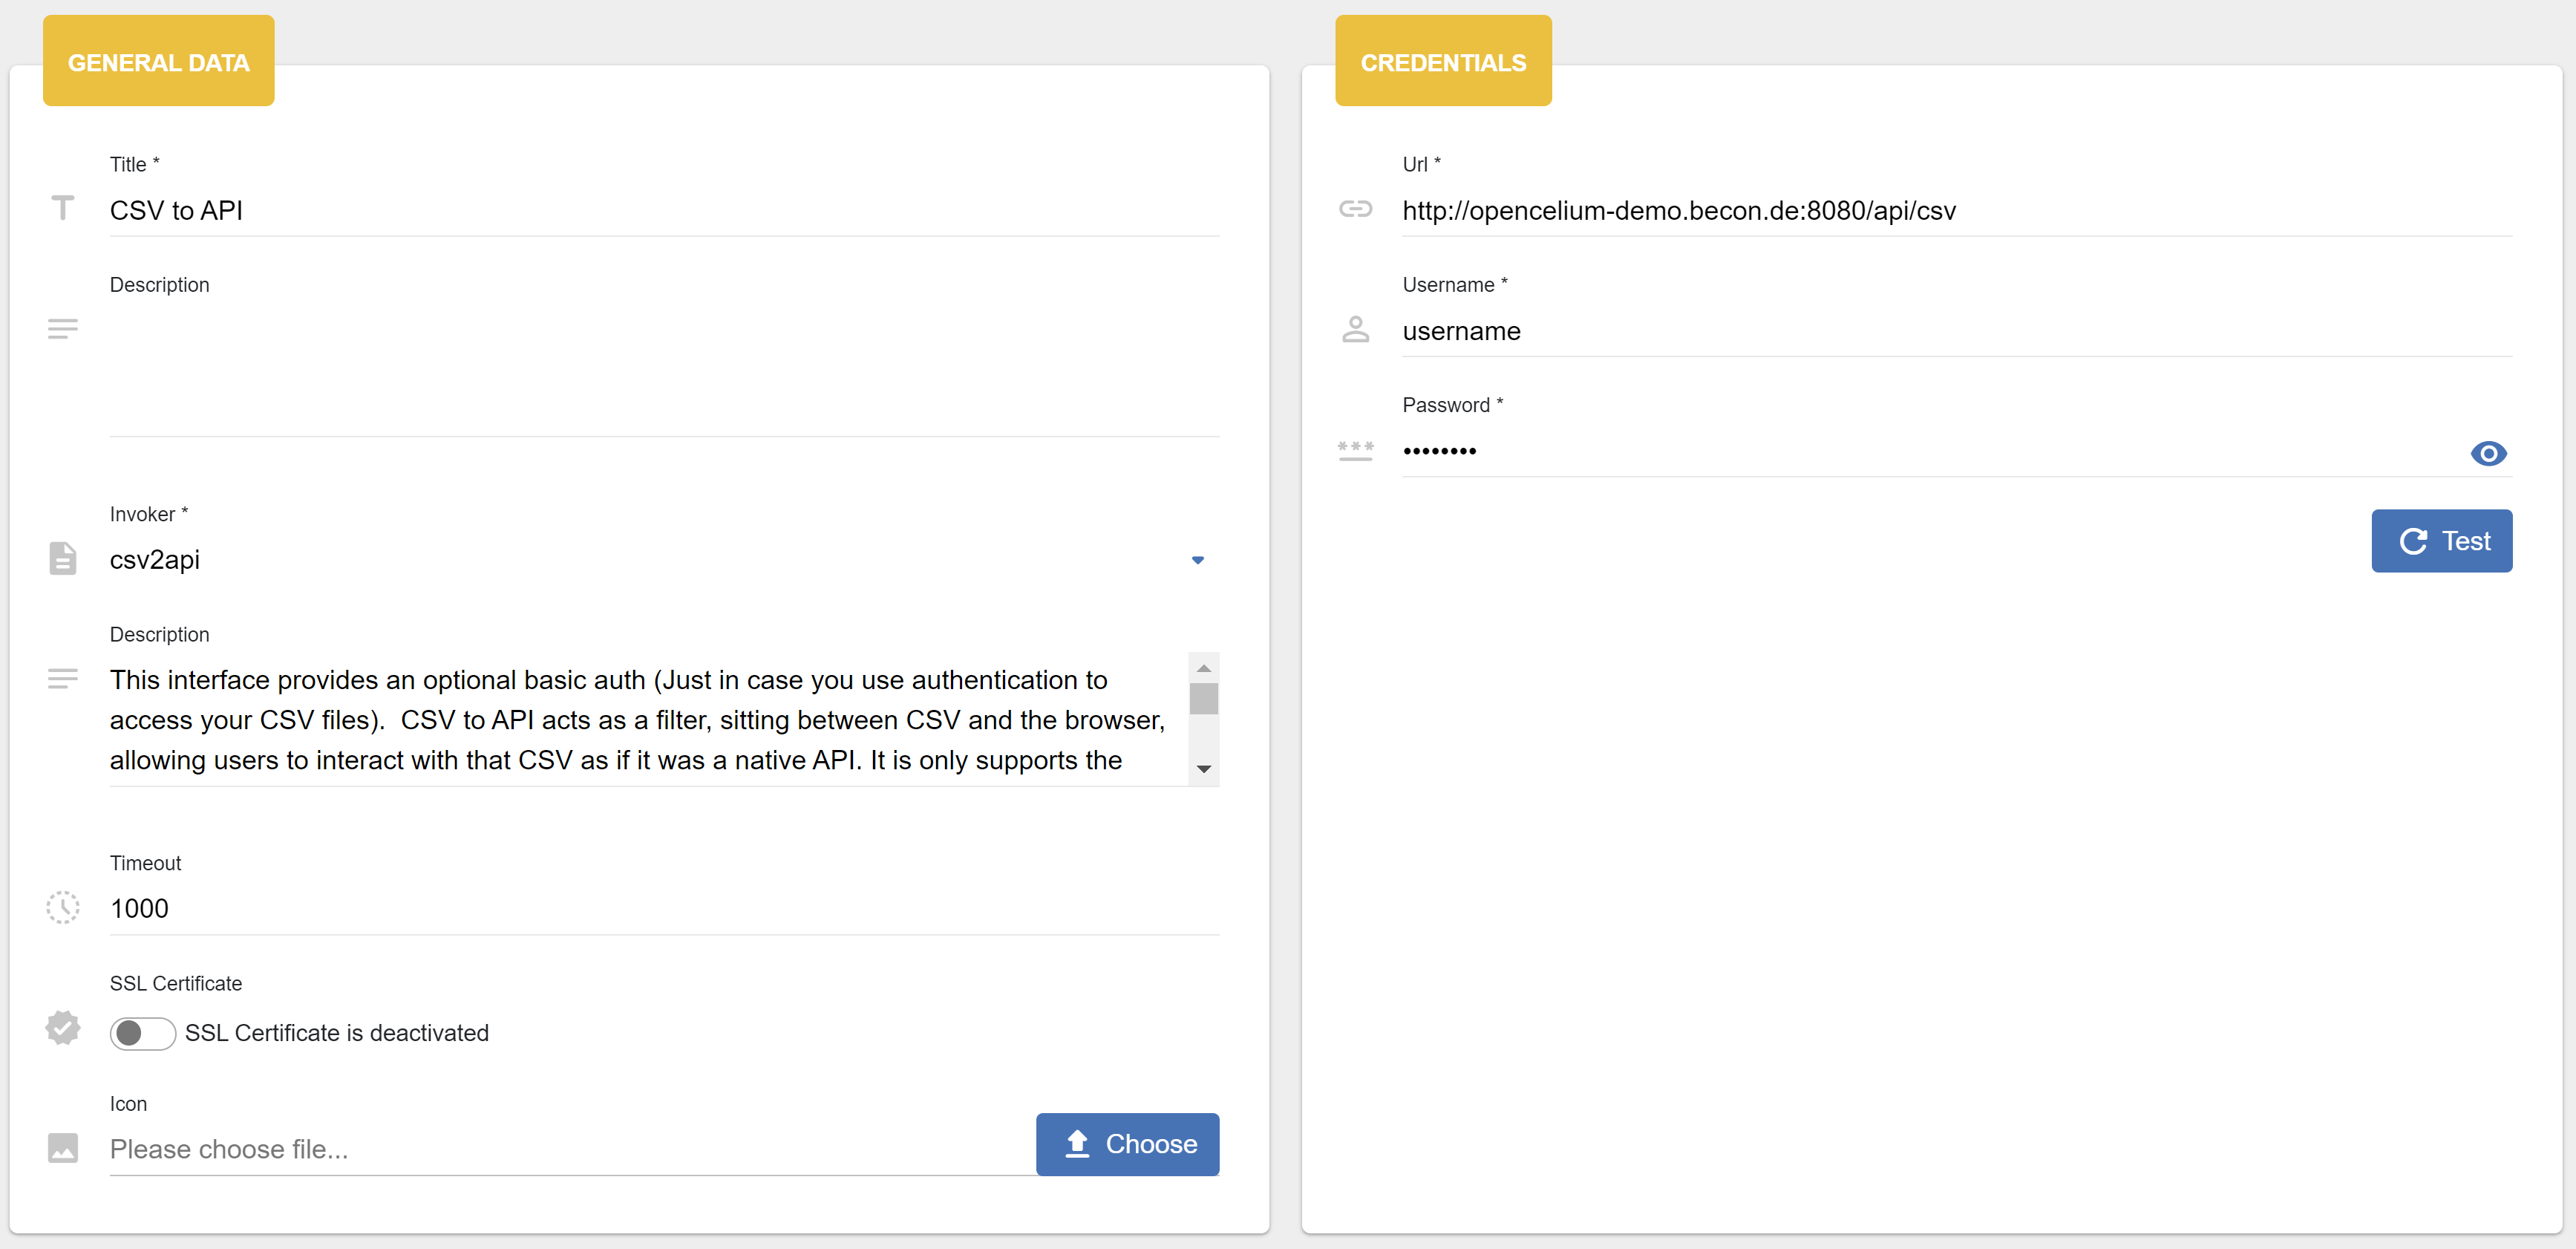
Invoker is a special configuration file to work with APIs. There you describe the authentication part and calls that should be used in Connection.
For subscribers there is also a possibility to add and to update actions. Here, you can read how to manage with them.
Templates
These are business templates. In other words, they are connections that are saved as templates for often use. Here, you can read how to manage with them.
Data Aggregator
Data Aggregator is a feature that provides a possibility to notify a user after the triggered connection (this happens in Schedules). Here, you can read how to manage with them.
Notification Templates
Notification Templates are templates that are used in scheduler jobs to notify users for three event types: pre, post, and alert. Here, you can read how to manage with them.
License Management
The License Management card mirrors the full workflow described in License Management. It surfaces the current subscription, warns if the API-call quota is exhausted, and exposes “Request Activation Request”, “Import License”, and “Activate Online” actions. Online activation only appears when the user has enabled Online Service Sync in their profile (Profile & Theme Sync), because that permission allows the frontend to contact the Service Portal. The embedded Detail View lets you trace API usage back to specific connections when debugging overages.
Update Assistant
The Update Assistant helps you to update OpenCelium to newer version. If the system recognizes a new version in the package cloud, it shows the message that it is available. The update process consists of several steps, let’s consider them.
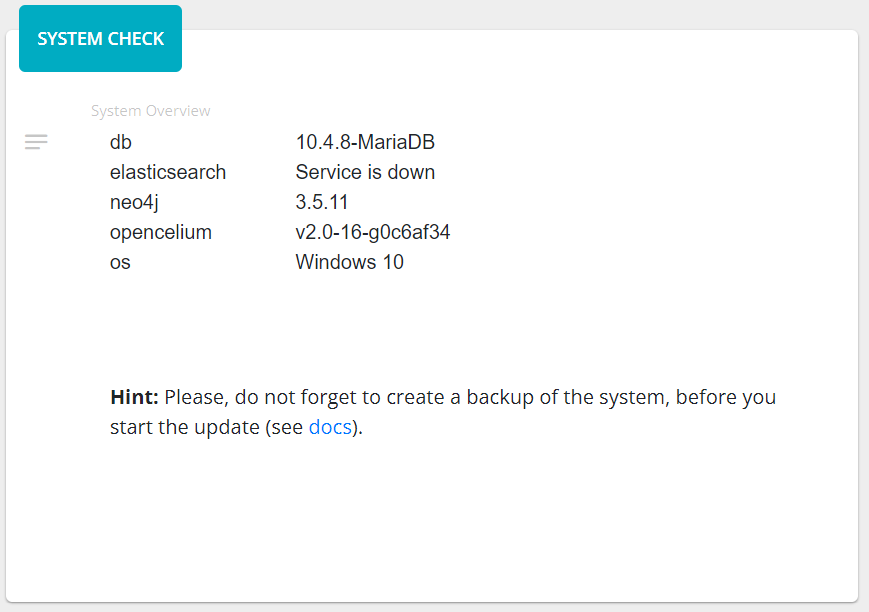
The System Check tests your machine if everything set up. Also it notifies you to make a backup of the system before update.

After choosing the right version click on the Update OC to finish the procedure. If you want to see logs, please read the Logging paragraph.
Migration from 3.x to 4.x
Since version 4.0, OpenCelium uses MongoDB to store your connection data. The Migration tool helps you to migrate your data from Neo4j to MongoDB, in case of updating from an old OpenCelium version to 4.x. The migration has to be done as last step after updating OpenCelium application.
Enter predefined Neo4j Url, User and Password. See old application.yml (in your backup directory). Click on Migrate to start data migration.
Categories
The Categories card centralizes the hierarchy that was previously only available from the Connections page. It lets you create, rename, or delete categories (including recursive deletes that remove subfolders and dependent connections). Changes propagate immediately to the category filters shown in Connections, Schedules, and the dashboard widgets, so this card is the preferred place to curate your taxonomy.