Connections
Connection defines between which connectors do we want to do requests, what kind of requests and to specify mapping between them. This is a core element of the application. The list of connections displays a title, a description, and connectors’ titles.

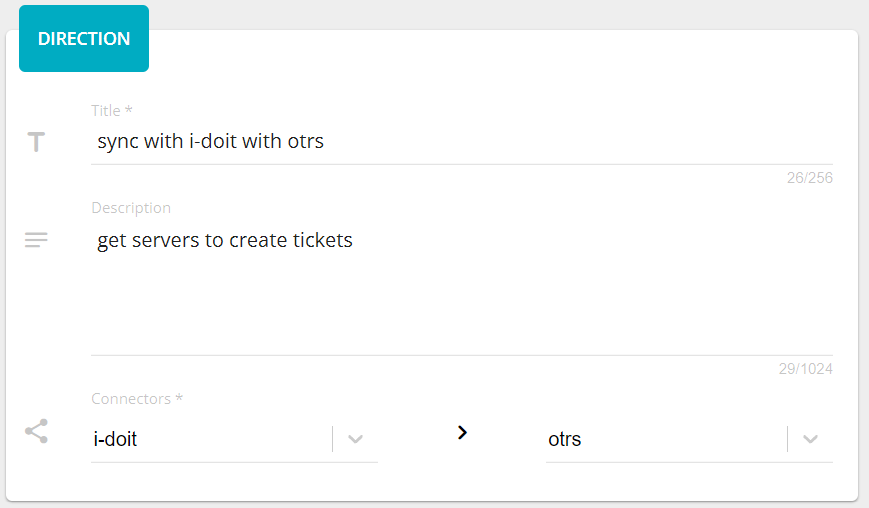
Adding connection has three steps: direction, mode, and methods. Updating connection has just one methods. The direction page has three fields: title, description and connectors. Title and connectors are required. The title must be unique, it is checking before performing an action (add/update). The connectors are two: from connector and to connector. The options are loaded from the connectors list.
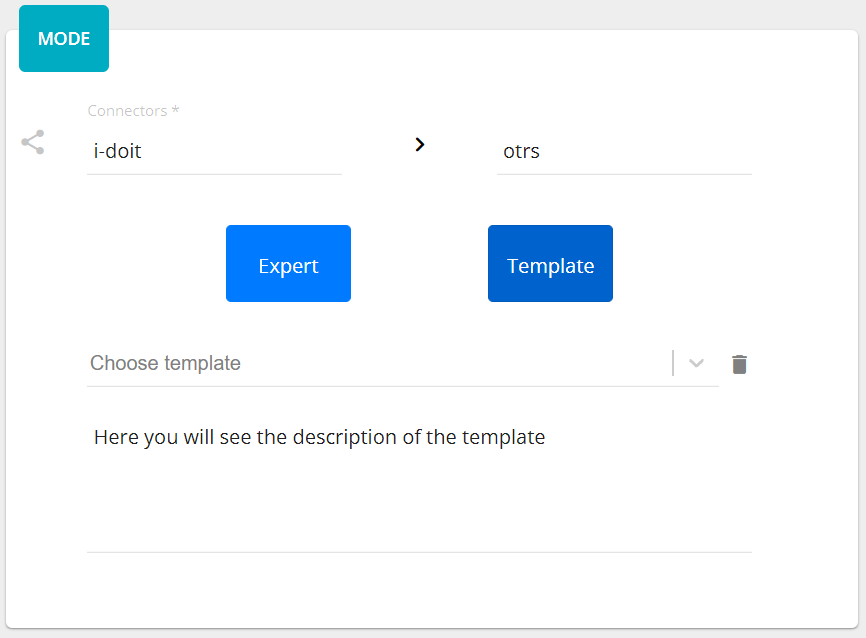
The mode step has one required field - mode. It can be an expert or
a template. If the template is chosen, their will be appeared a select
field, where you need to select a desired template. Here also you can delete
it, clicking on the bin icon, or upgrade, if the template need to be upgraded
to the current application version. There is also a possibility to create a new
template basing on the current connection pressing on the button  and defining a template name and optionally a template description.
If you change the mode it will affect on the “methods”, that is why you need to confirm your choice.
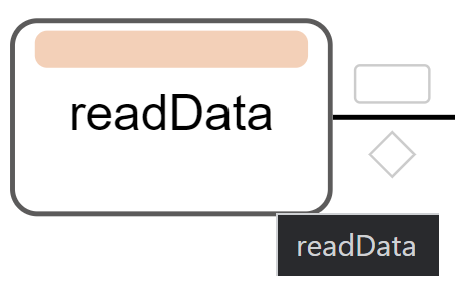
The method represents the request to the connector with defined parameters. There are two types of elements: method and operator. The area consists of visual representation of methods/operators and a panel Details. Clicking on the text Click here to create… or moving pointer above the existed element you will see a placeholder for creating process or operator.
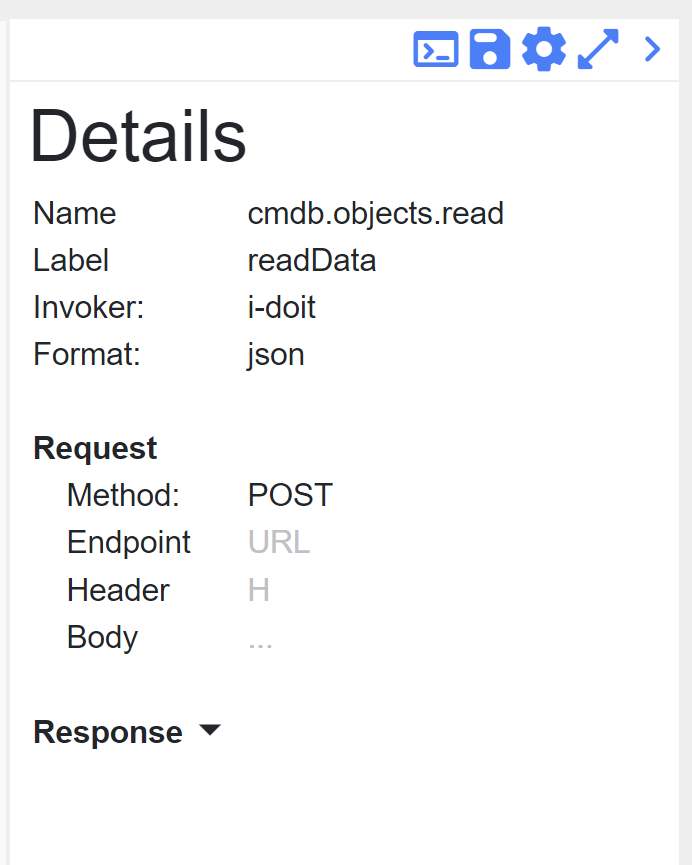
The element will be located after the current element and set as a new current. Each method has his own color that generates automatically. Also, you can set a label for your personal better reading. To remove a method or an operator just click on the bin icon of the selected element. The Details panel displays information about the selected element.
If you want to set or to change the Label of the connection, just move your mouse
over it in Details and click on edit icon. Under the Format you can find an
Aggregator that also could be (re)set. If you want to know more, please
read Here.
You can create a new aggregator pressing on the button 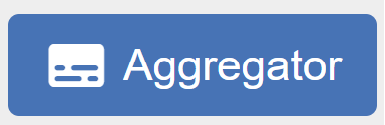 .
.
In the Details panel you can see Endpoint and Body under the Request paragraph that could be modified clicking on their placeholders.
There is a possibility to add a parameter into the Endpoint (except the first method in from connector). This parameter is a reference to the response of the previously created method.
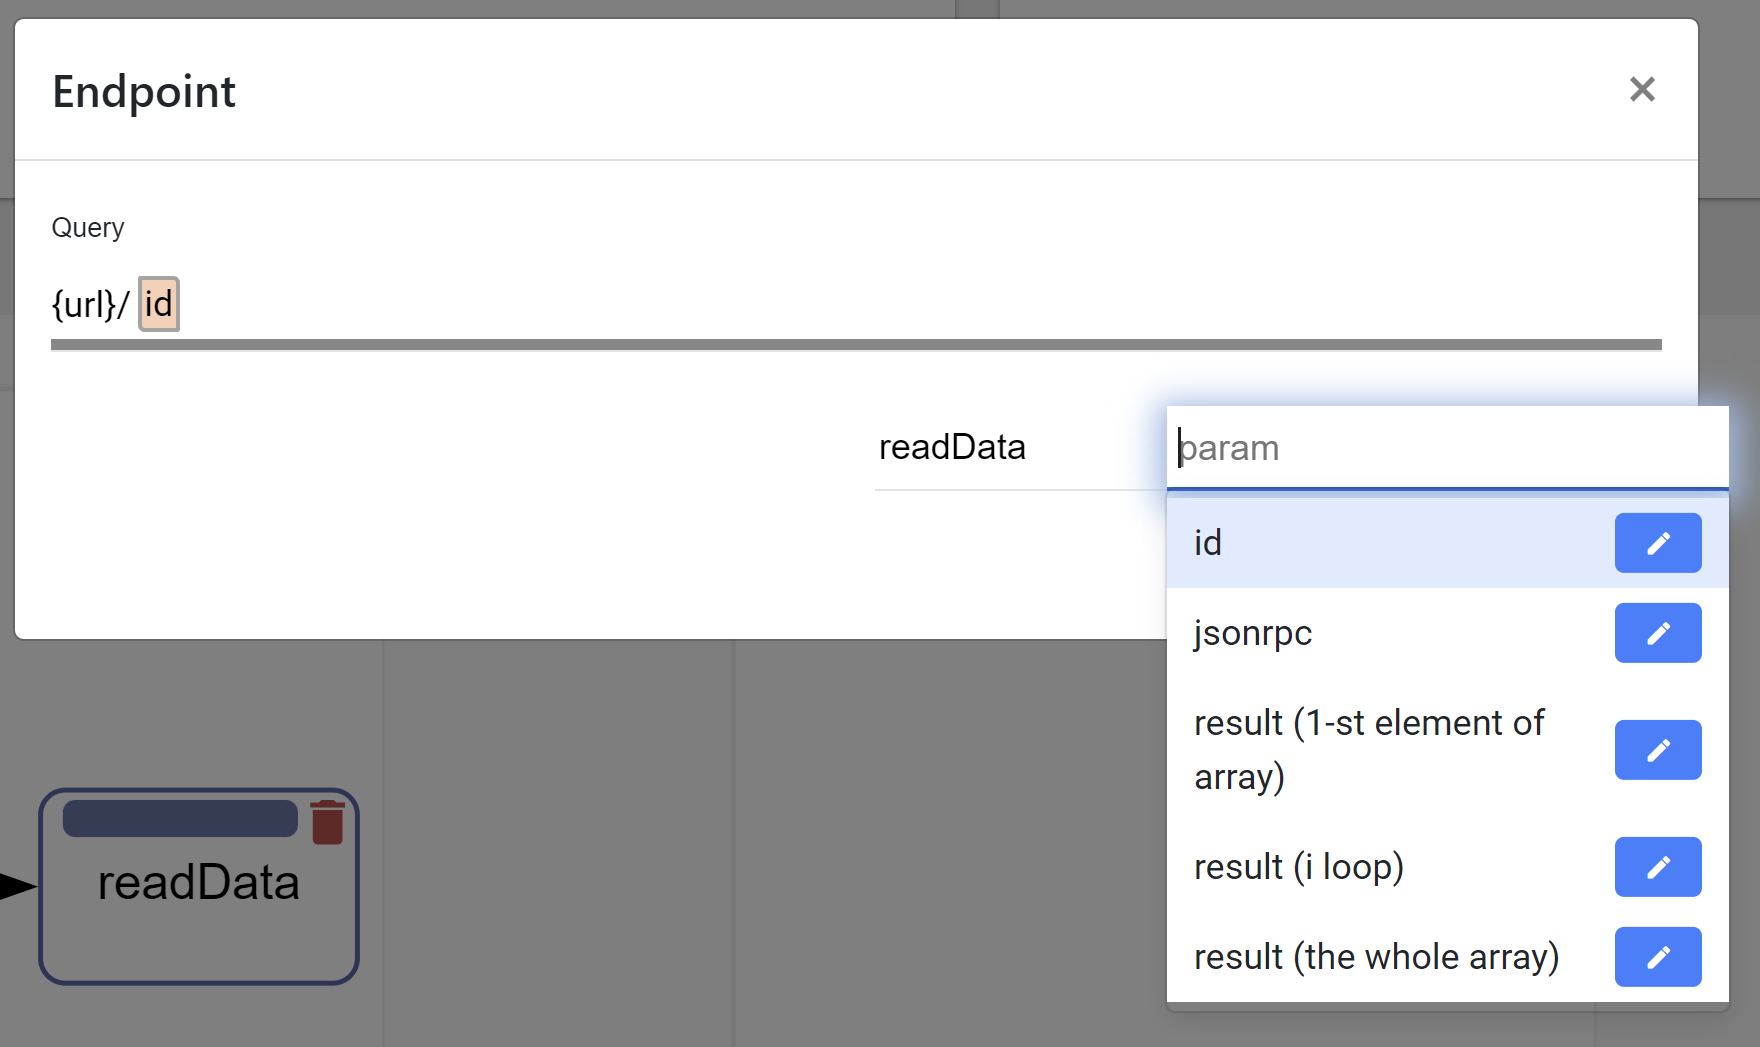
If the response is in json format and array, then you can choose the whole array or only a specific element in the array typing [arrayIndex]. It means to take the element with the specified index. To choose the whole array you need to type [*]. If the response is in xml format then you can also reference to the attribute of the xml tag. Just type @ and if the xml tag has attributes they will be popped up and you can select one. You choose method, fill out the parameter and click plus button. The parameter comes from the invoker. If it exists there, you will see it after typing the third symbol in the input field as a select popup block.
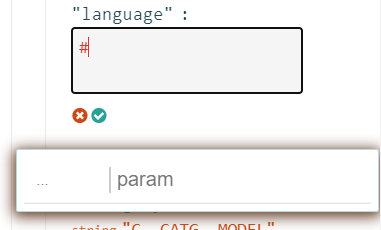
Body can also contain references from the previous methods. Type # as the first character and you will see another popup.
You can handle with that in the same principe as for the Query.
When you finish with editing click on the apply icon  .
.
Moreover, you can add an enhancement between fields. Clicking on the reference
Note
Enhancement is currently only supported in the body configuration of the target system (to connector).
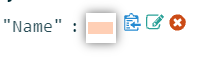
you will see a popup window where you set a description and an enhancement itself.
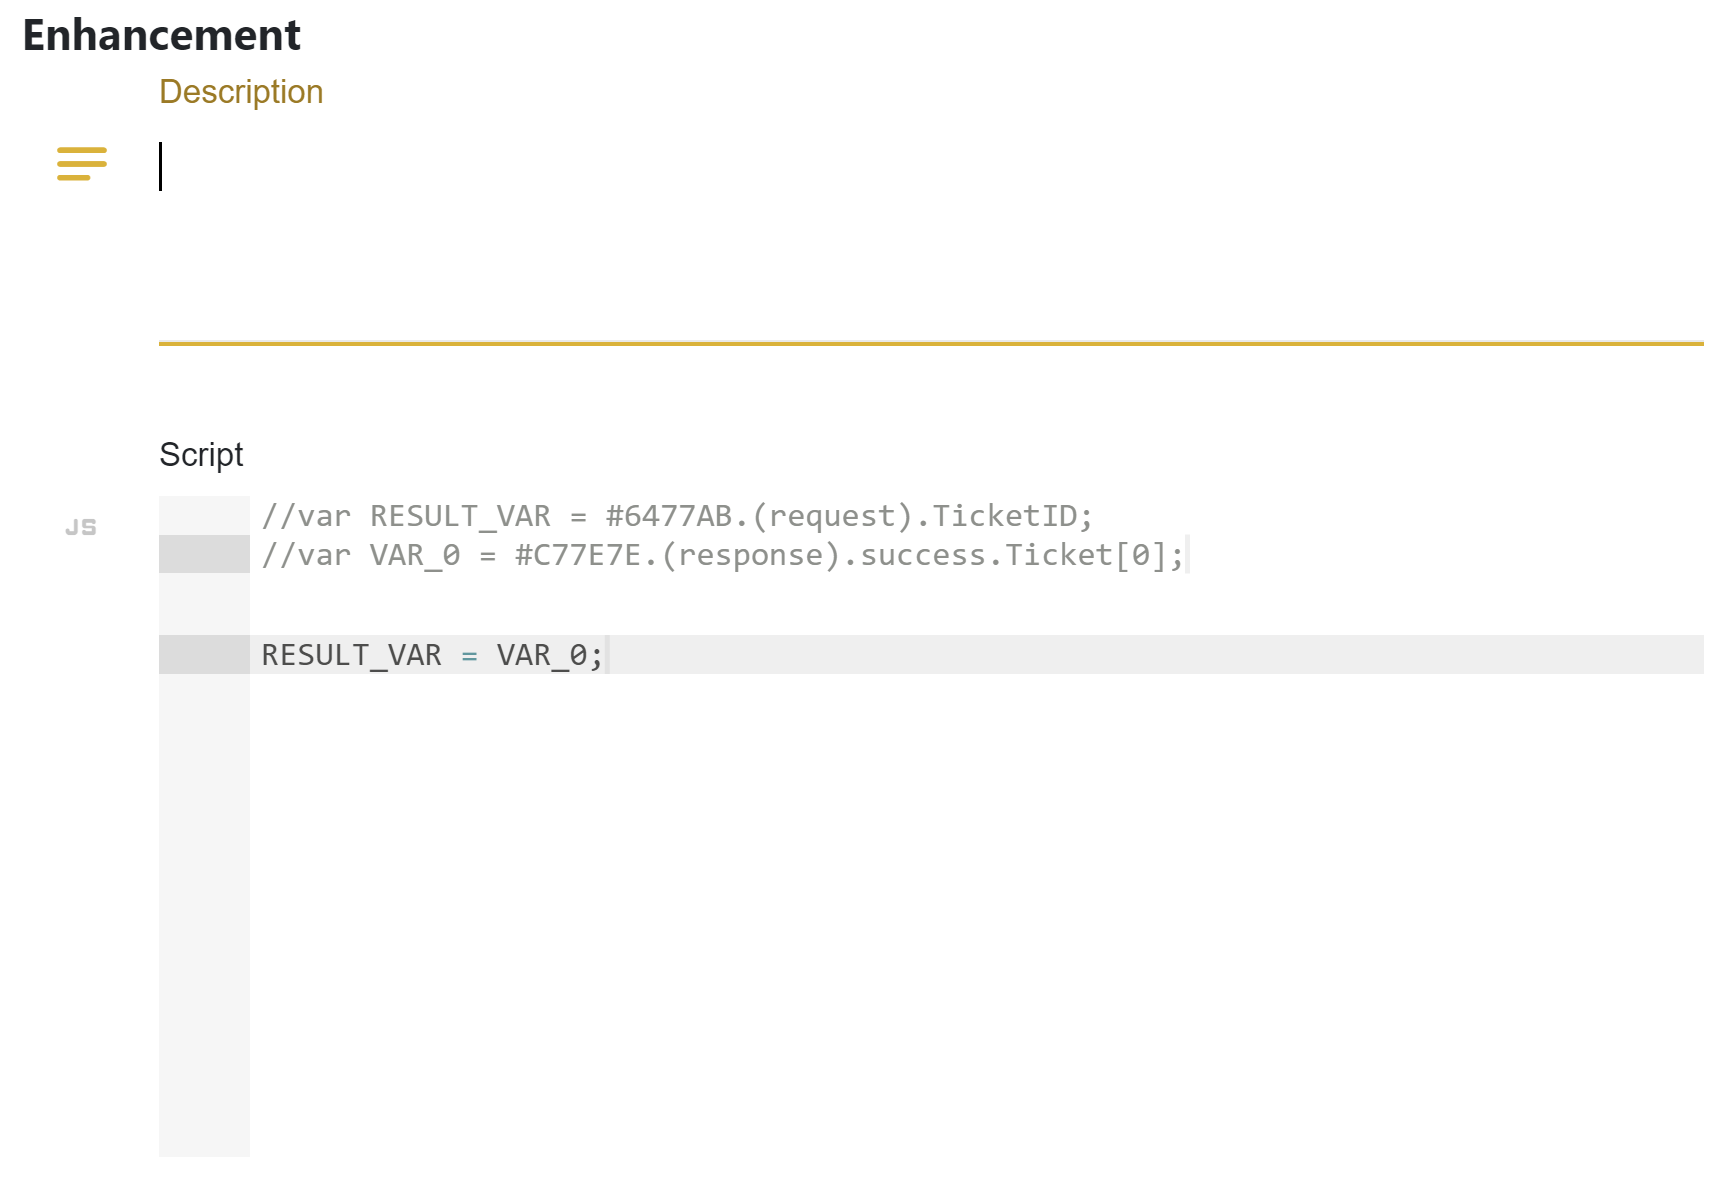
There are predefined variables to relate with the fields. VAR_[i] are coming parameters and RESULT_VAR is the final value for to connector field.
The reference could be easily deleted if you mouse over it and click on the delete icon  .
All variables related to this references will be automatically replaced on OC_VAR_NOT_EXIST in the enhancement’s script.
.
All variables related to this references will be automatically replaced on OC_VAR_NOT_EXIST in the enhancement’s script.

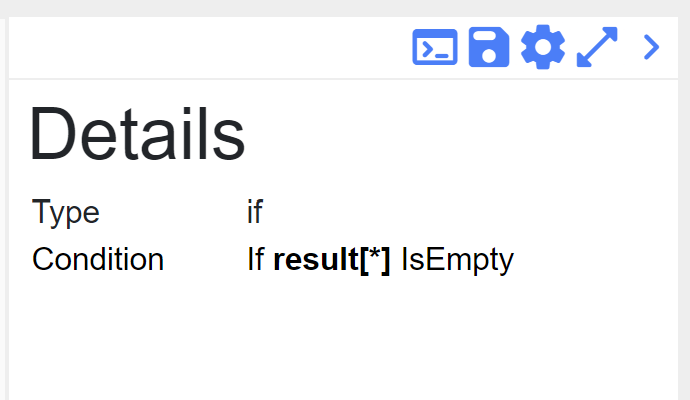
When you create an operator there are two options: if and loop. if operator does a condition before performance. You should define here also a reference, choose a condition operation and set with what are you doing to compare.
loop operator makes request in the loop under conditions that you define.
As you can mention, all items under the operators are shifted on the level down. Selecting the operator you will see the scope of their influence.
On the bottom you can find the Action Panel.
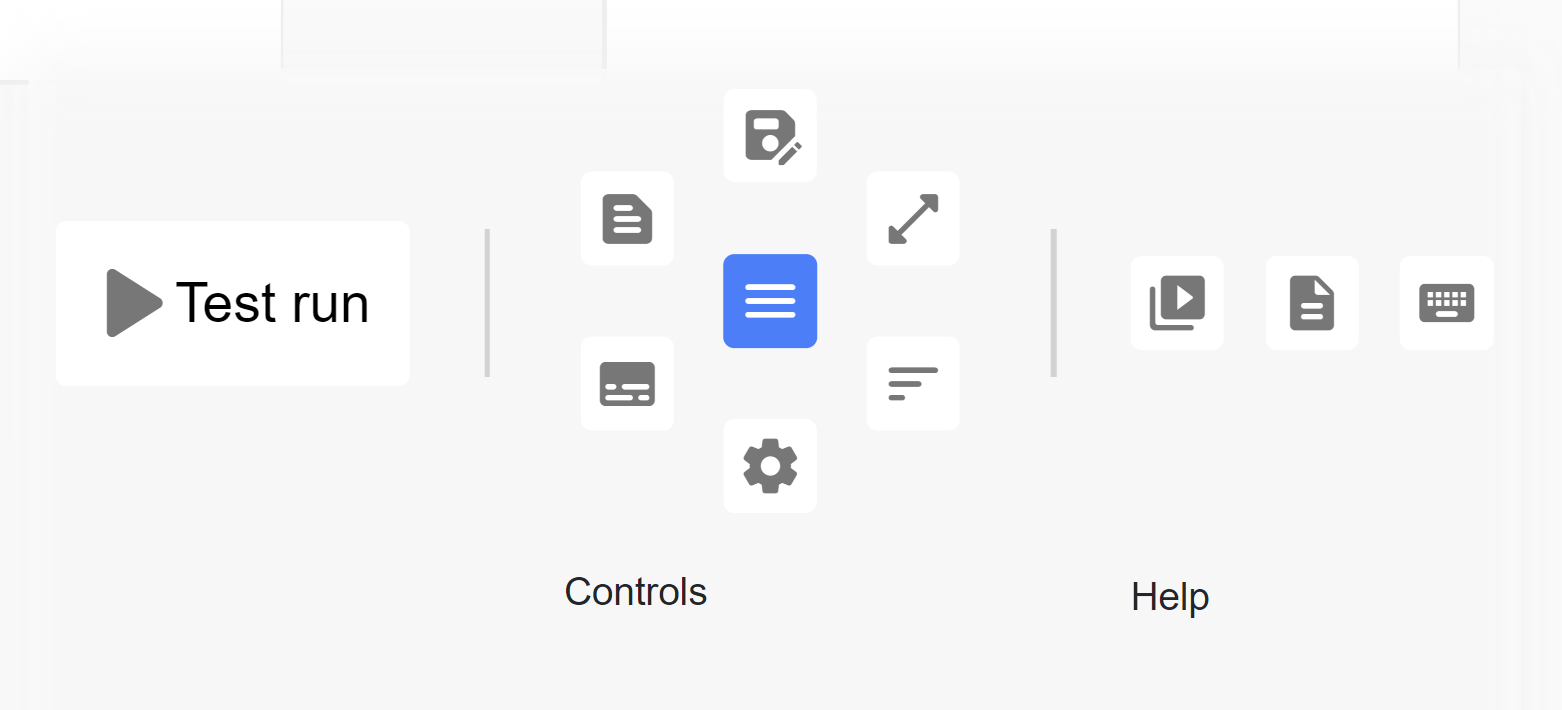
Here you can make most actions regarding to the connection:
 - testing the current connection creating a temporal connection and schedule.
 - saving options: save, save and close, save and go to add schedule (correspondingly
  ).
).
 - resize the methods section to fullscreen and back.
 - toggle log panel that shows a test connection log messages.
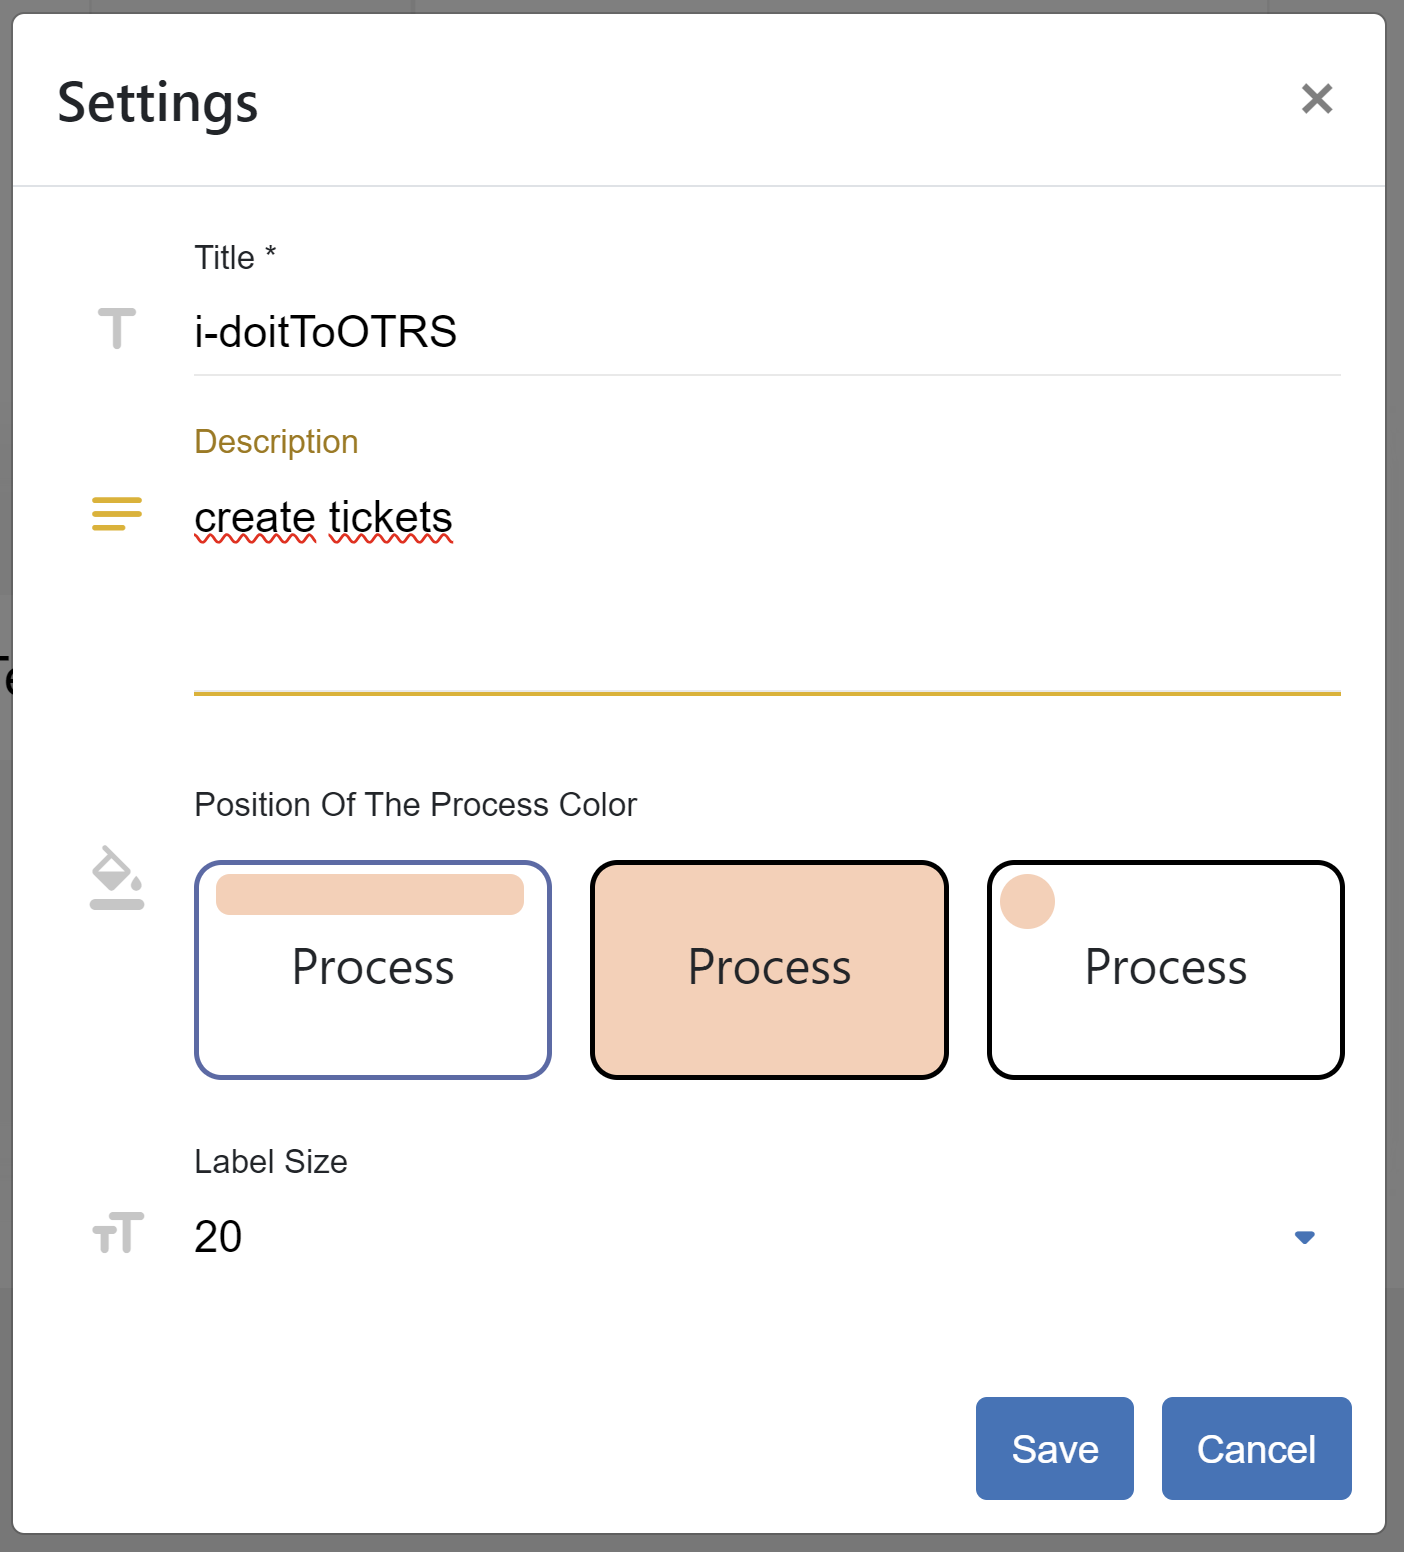
 - configuration that help you to set name and description in add/update connection form,
also you can set a color mode of the method and its name/label font size.
- configuration that help you to set name and description in add/update connection form,
also you can set a color mode of the method and its name/label font size.
 - toggle data aggregator.
 - template options: create a new template or load existing one (correspondingly
  ).
).
 - animation tool for explaining how to use the method section. It simulate the method’s editor
with the predefined data following with scripts that describe steps.
- animation tool for explaining how to use the method section. It simulate the method’s editor
with the predefined data following with scripts that describe steps.
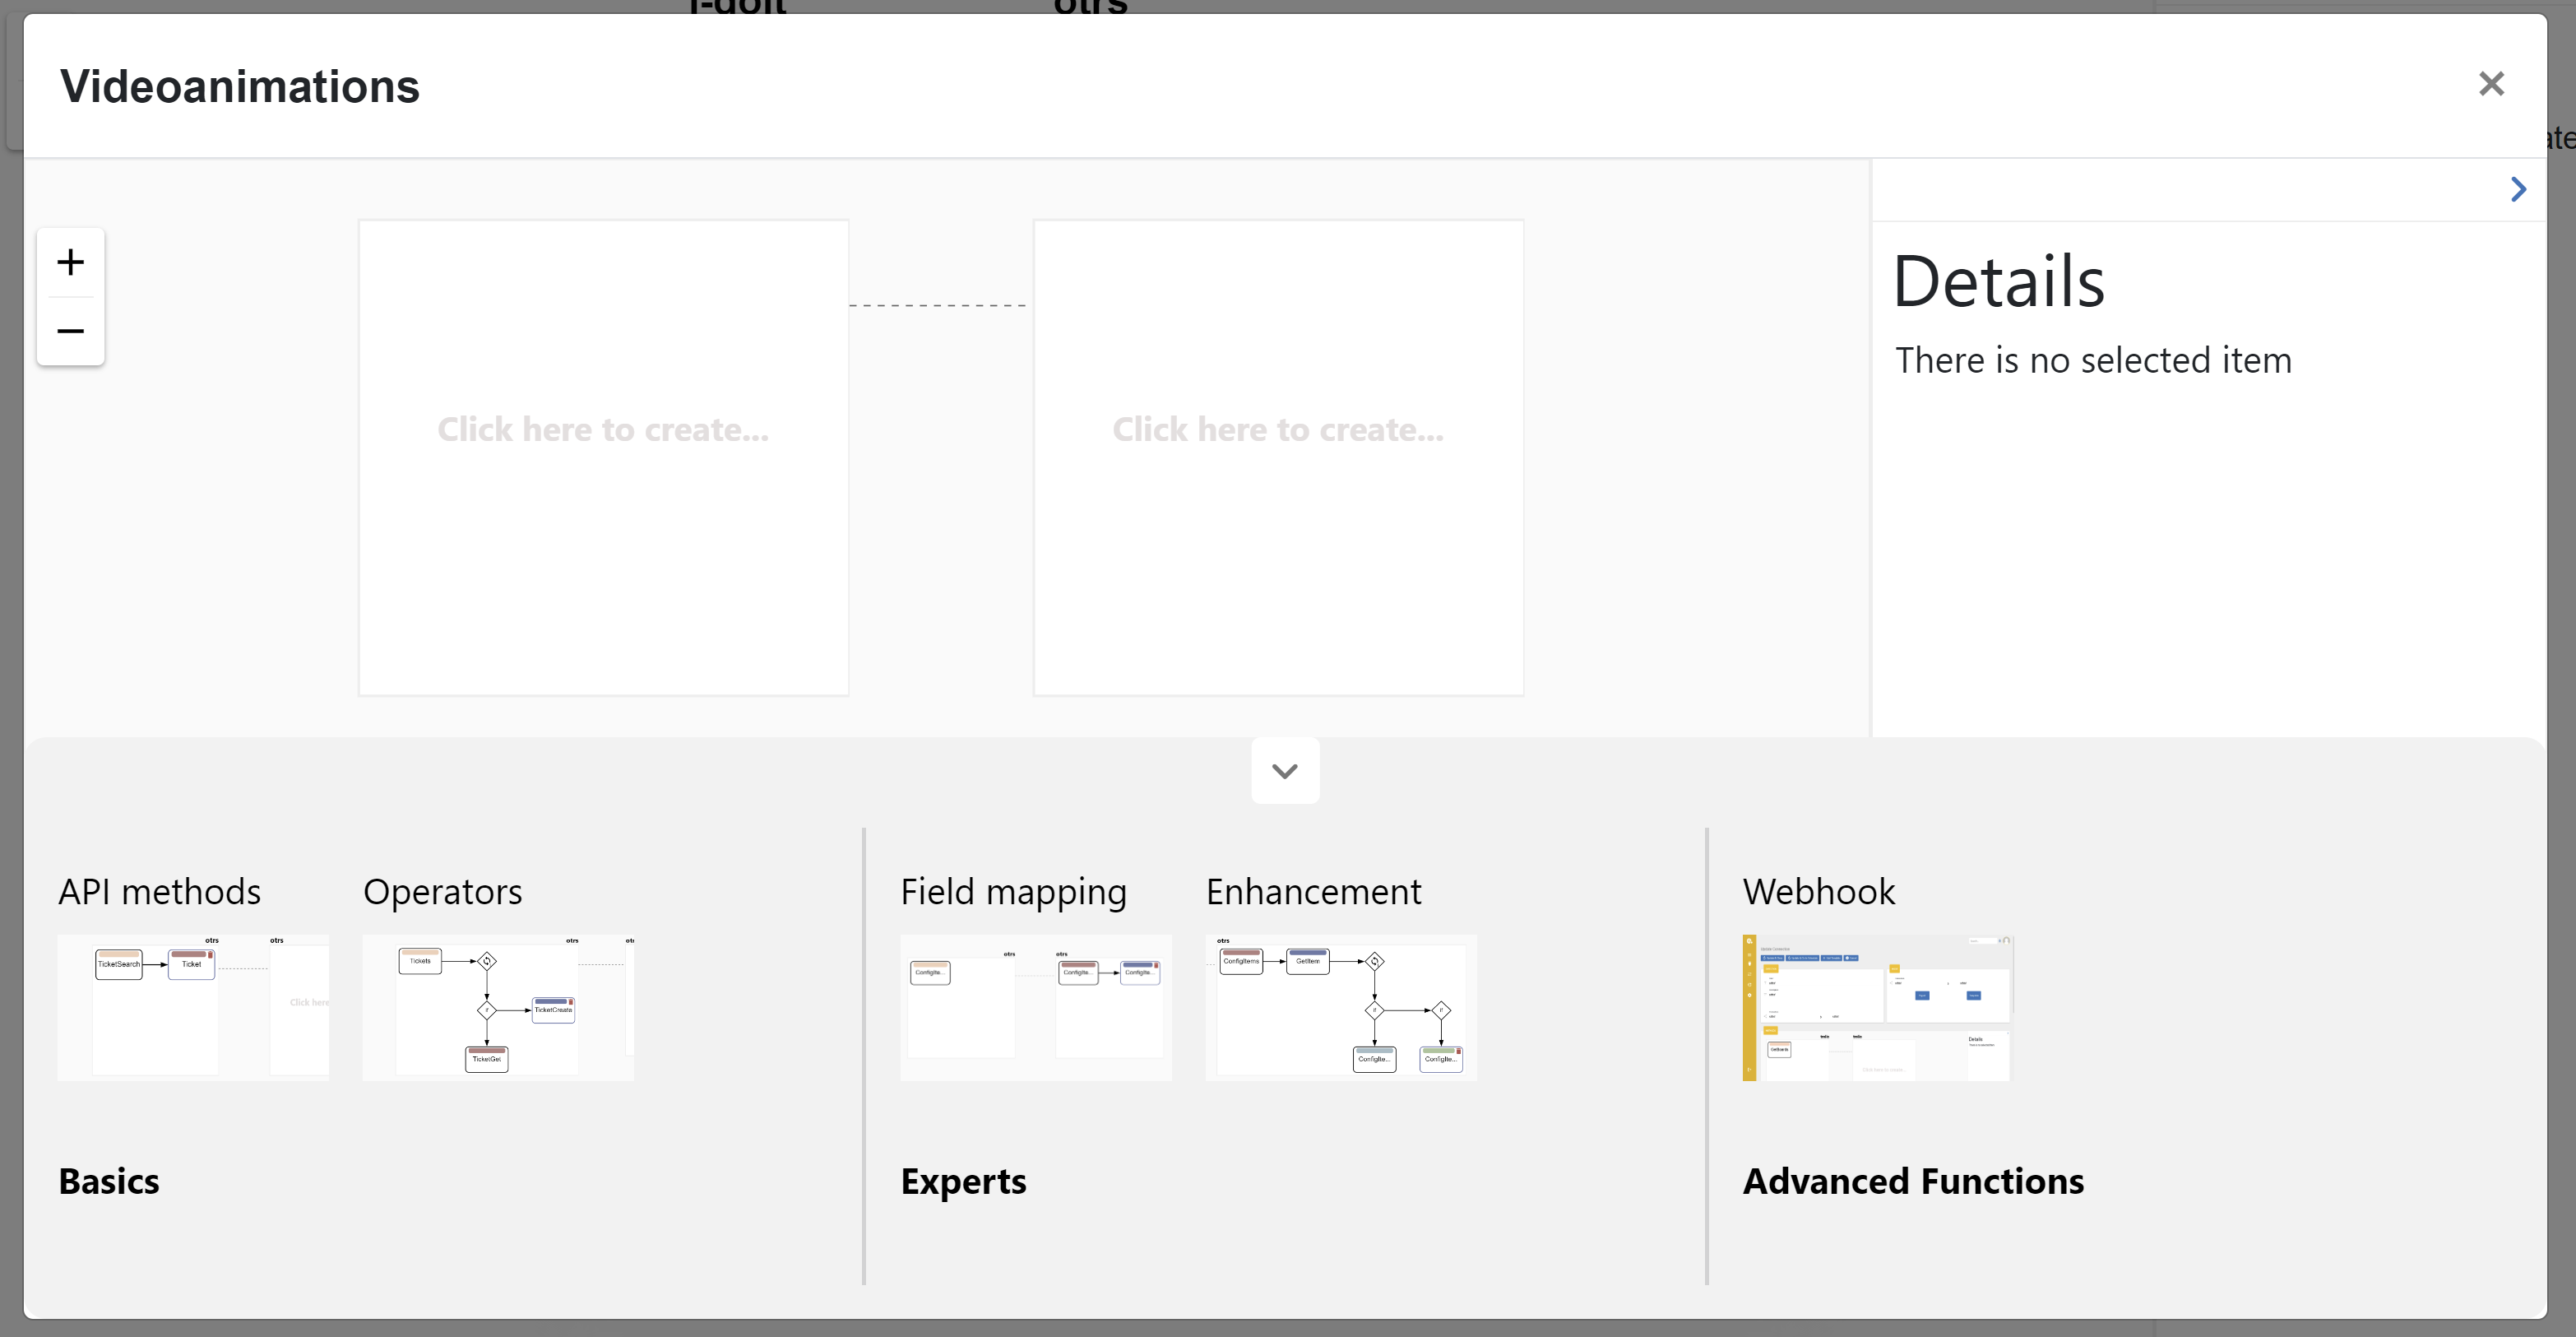
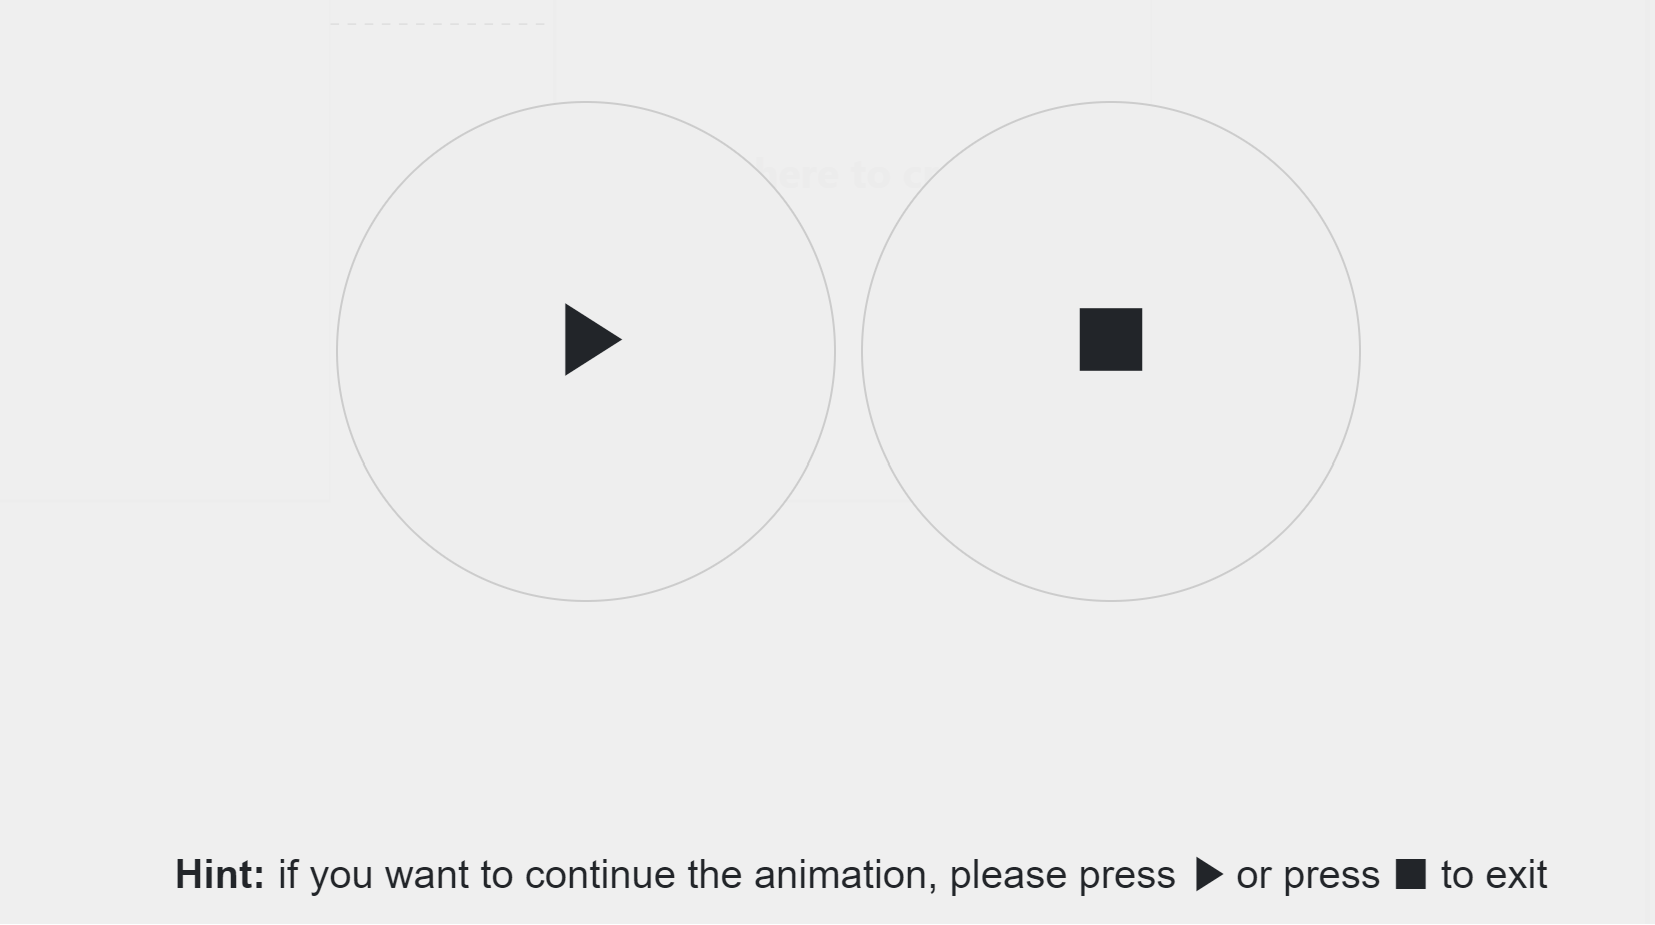
Just press on the required animation on the bottom and watch the simulation. On the right side you can see the panel where you can pause/play, increase speed or completely stop the simulation. During the animation you can not interact with it.

Only after stop, you can play with the connection by your own. Moving your mouse on the center or clicking on any place you can see the pause/play/stop icons.
 - synchronize invokers. Sometimes you need to change the invoker file manually. The connection
that uses these invokers will not update them automatically, because for some cases it is not needed.
That is why you can sync by your own using this feature.
- synchronize invokers. Sometimes you need to change the invoker file manually. The connection
that uses these invokers will not update them automatically, because for some cases it is not needed.
That is why you can sync by your own using this feature.
 - shortcuts
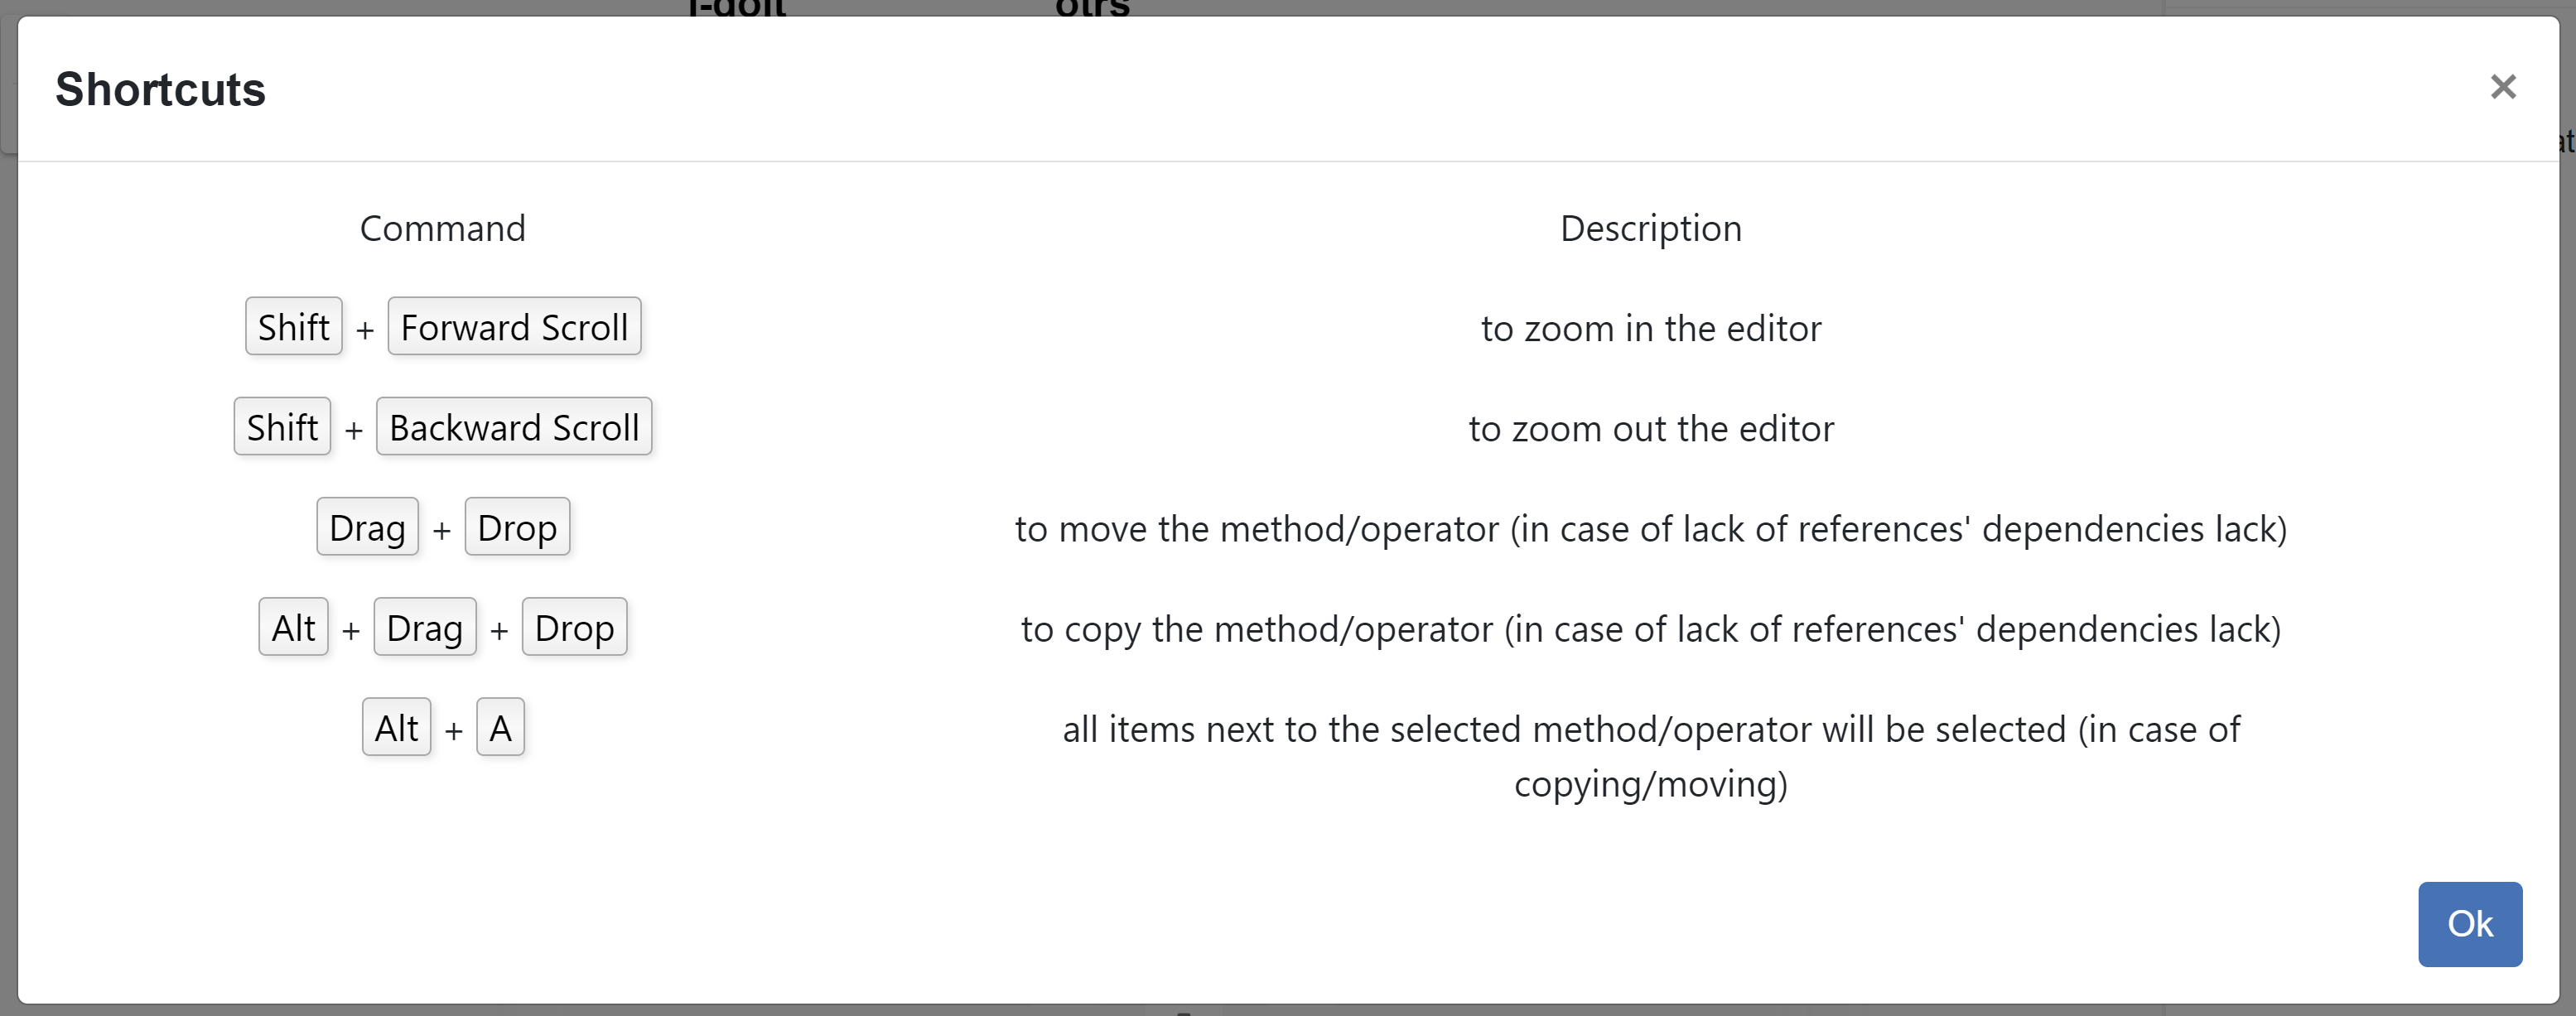
On the left side in the methods section you can see the zoom in and zoom out actions